Recipe Details
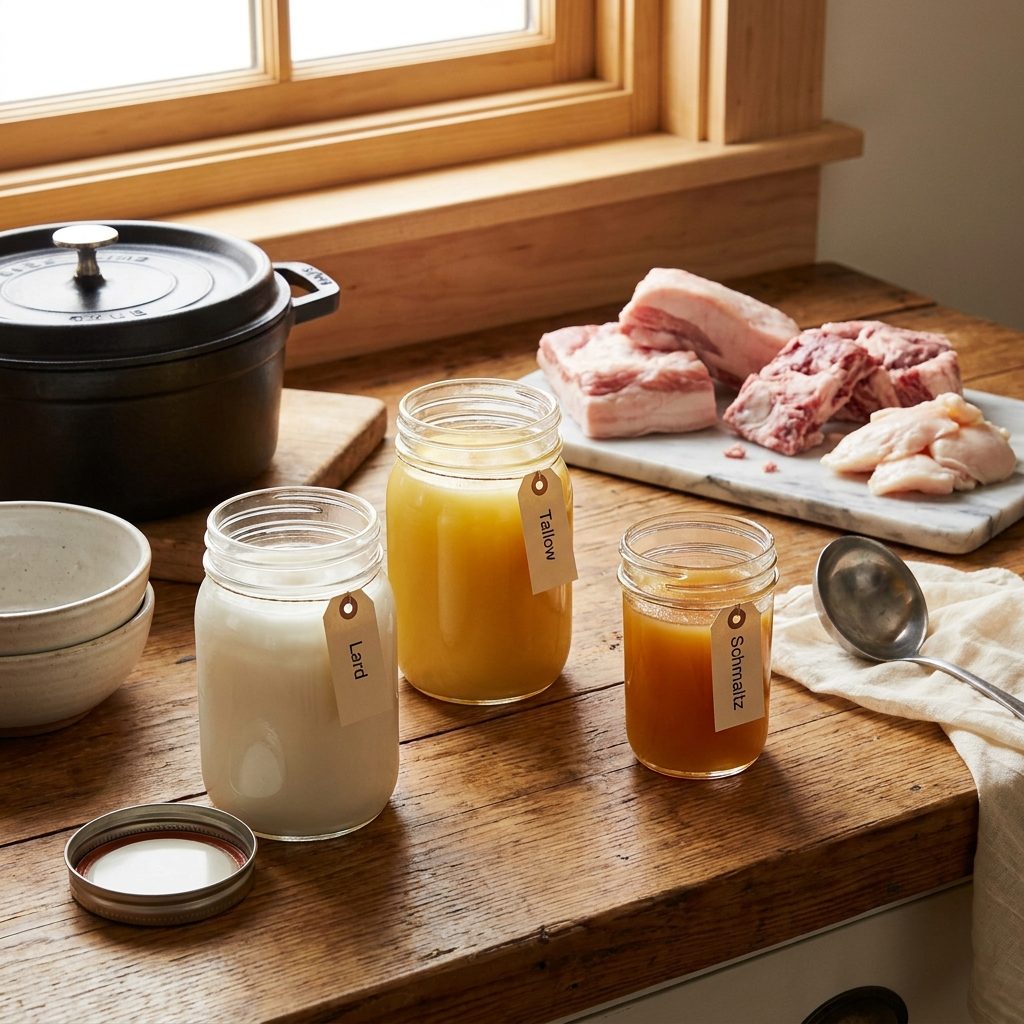
"Rendering fat is the essential culinary process of melting raw animal fat to separate it from connective tissue and moisture. This guide covers how to transform scraps into premium, shelf-stable cooking mediums like lard and tallow."
Ingredients
| Qty | Item |
|---|---|
| Ingredient list coming soon. | |
How to Make How to Render Fat
Preparation: Trimming and Sizing
Start with high-quality fat, such as beef suet, pork leaf fat, or chicken skin. For the best results, ensure the fat is very cold—partially frozen is ideal. A 30-minute stay in the freezer firms it up without freezing solid. Use a sharp knife to trim away any remaining meat or blood, as these impurities can spoil the flavor. Even a speck of blood will turn the fat gray and introduce a metallic taste. Dice the fat into small 1/2-inch cubes or pulse it in a food processor to increase the surface area, which ensures faster and more even rendering. If using a food processor, work in 1-pound batches and pulse 8 to 10 times—each pulse lasting 1 second—until the pieces are uniform. Over-pulsing creates a paste that will scorch before it renders. For suet, aim for 1/4-inch dice; for pork leaf fat, 1/2-inch is fine; for chicken skin, 1-inch strips work best. Keep the fat chilled between batches.
Choosing Your Method: Wet vs. Dry
The wet method involves adding a small amount of water to the pot along with the fat. The water acts as a temperature regulator, preventing the fat from scorching in the early stages; as the rendering progresses, the water evaporates. Use exactly 1/2 cup of cold water per pound of fat—too little and the fat browns prematurely; too much and the render takes twice as long. The dry method skips the water and relies purely on a heavy-bottomed pan and low heat. Beginners are encouraged to use the wet method to achieve a cleaner, more neutral-tasting end product. If you choose the dry method, start with a cold pan and add the fat directly; never preheat the pan, or the bottom layer will burn before the interior melts. For both methods, a 5-quart Dutch oven is ideal for up to 3 pounds of fat; any larger and the fat spreads too thin, risking scorching.
The Low and Slow Render
Place your prepared fat in a heavy-bottomed pot, such as a Dutch oven, over the lowest possible heat setting on your stove. If using the wet method, add about 1/2 cup of water per pound of fat. Simmer gently, stirring occasionally to prevent sticking. Use a wooden spoon or silicone spatula—metal can scrape the pot's enamel and introduce flecks. Stir every 10 minutes for the first hour, then every 5 minutes once the water has evaporated. You will observe the fat gradually turning from opaque white solids into a translucent liquid. The ideal temperature range is 200°F to 225°F; use an instant-read thermometer to check. Above 250°F, the fat will brown and develop a toasted flavor that ruins neutral lard. This process is a marathon, not a sprint, and can take between 1 to 4 hours depending on the volume of fat. For 1 pound of chicken skin, expect 1 hour; for 3 pounds of beef suet, up to 4 hours. The fat should never bubble aggressively—only a lazy simmer with an occasional burp. If you see smoke or smell a nutty aroma, the heat is too high; immediately lift the pot off the burner and reduce the heat by one-third. When the cracklings begin to float and the liquid becomes clear, the render is nearly complete.
Straining and Storage
The process is finished when the solid bits (known as cracklings) have turned golden brown and the liquid is perfectly clear. For beef suet, the cracklings should be deep amber; for pork leaf fat, pale gold; for chicken skin, light brown. If the cracklings are still soft or the liquid is cloudy, continue rendering for another 15 minutes and check again. Turn off the heat and allow the liquid to cool for about 10 minutes. Line a fine-mesh strainer with several layers of cheesecloth and carefully pour the fat through it into clean, dry glass jars. Use a 4-layer cheesecloth for the clearest result; a coffee filter works as a substitute. Pour slowly to avoid splashing—a ladle is safer than tipping the pot. Allow the jars to reach room temperature before sealing. This takes 1 to 2 hours; if you seal them while warm, condensation will form and spoil the fat within a week. The fat will solidify and turn white as it cools. For lard, expect a snowy white; for beef tallow, a creamy ivory; for schmaltz, a pale yellow. Store in the refrigerator for up to 6 months or in the freezer for up to 1 year. If the fat develops an off smell or a grayish tint, discard it immediately.
Tips for Best Results
-
·
<html><ul><li>Always maintain low heat; high temperatures will cause the fat to oxidize and develop a strong, unpleasant 'meaty' odor.</li><li>Use a slow cooker on the 'low' setting for a hands-off approach that minimizes the risk of burning.</li><li>For the highest quality lard, specifically ask your butcher for 'leaf fat,' which is the clean fat found around the kidneys.</li><li>Don't throw away the cracklings! Season them with salt and use them as a crunchy topping for salads or baked potatoes.</li></ul></html>
Frequently Asked Questions
What is the difference between lard and tallow?
Why is my rendered fat yellow instead of snow-white?
How long can I store rendered fat?
Do I need to refrigerate rendered fat?
What to Cook Next
Next Recipe
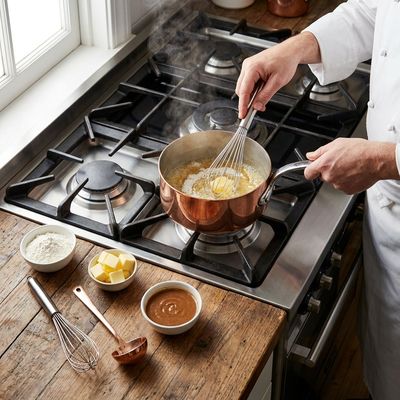
How to Make a Roux: The Essential Guide to Thickening Sauces
A roux is a fundamental cooking technique used to thicken sauces and soups by combining fat and flour. This guide provides step-by-step instructions for achieving the perfect consistency and flavor for any culinary application.
Similar Recipes to Try
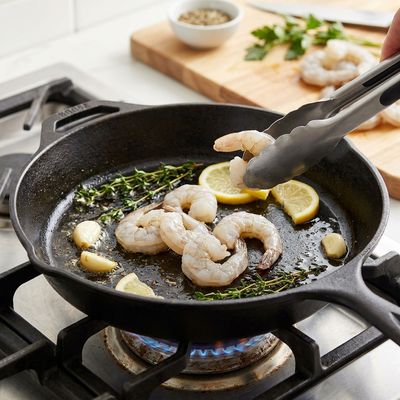
How To Cook Shrimp
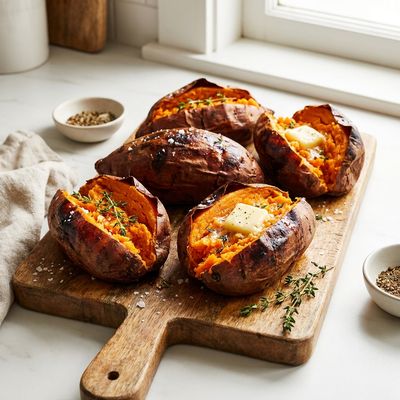
How To Bake Sweet Potatoes
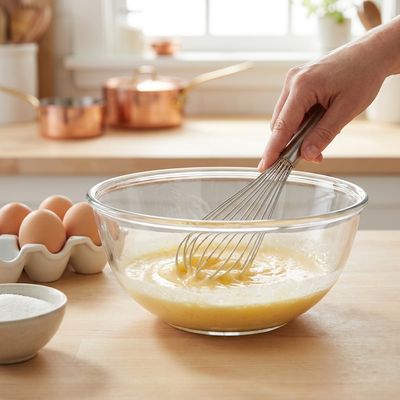
How to Whisk Egg Yolks

Tadka Tempering for Indian Dals
10 min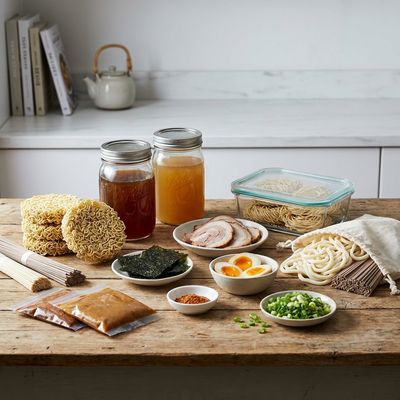
Ramen Noodles: Uses, Substitutes, and How to Store It
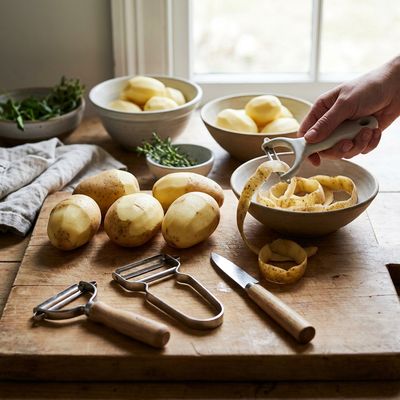
How to Peel Potatoes
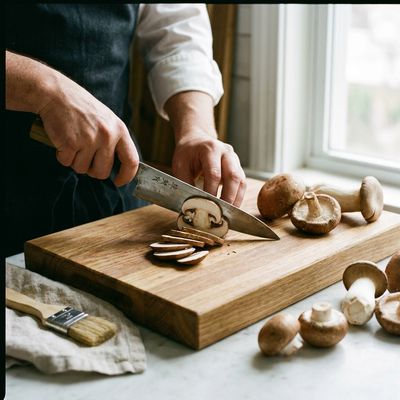
How to Slice Mushrooms
How to Whip Heavy Cream
The Best Cooking Oil Substitutes for High-Heat vs. Cold Dishes
The Best Way to Saute Vegetables Without Making Them Mushy
Comments
(0)Sign in to leave a comment.
You Might Like
Ad Space Available
Be the first to leave a comment.