Recipe Details
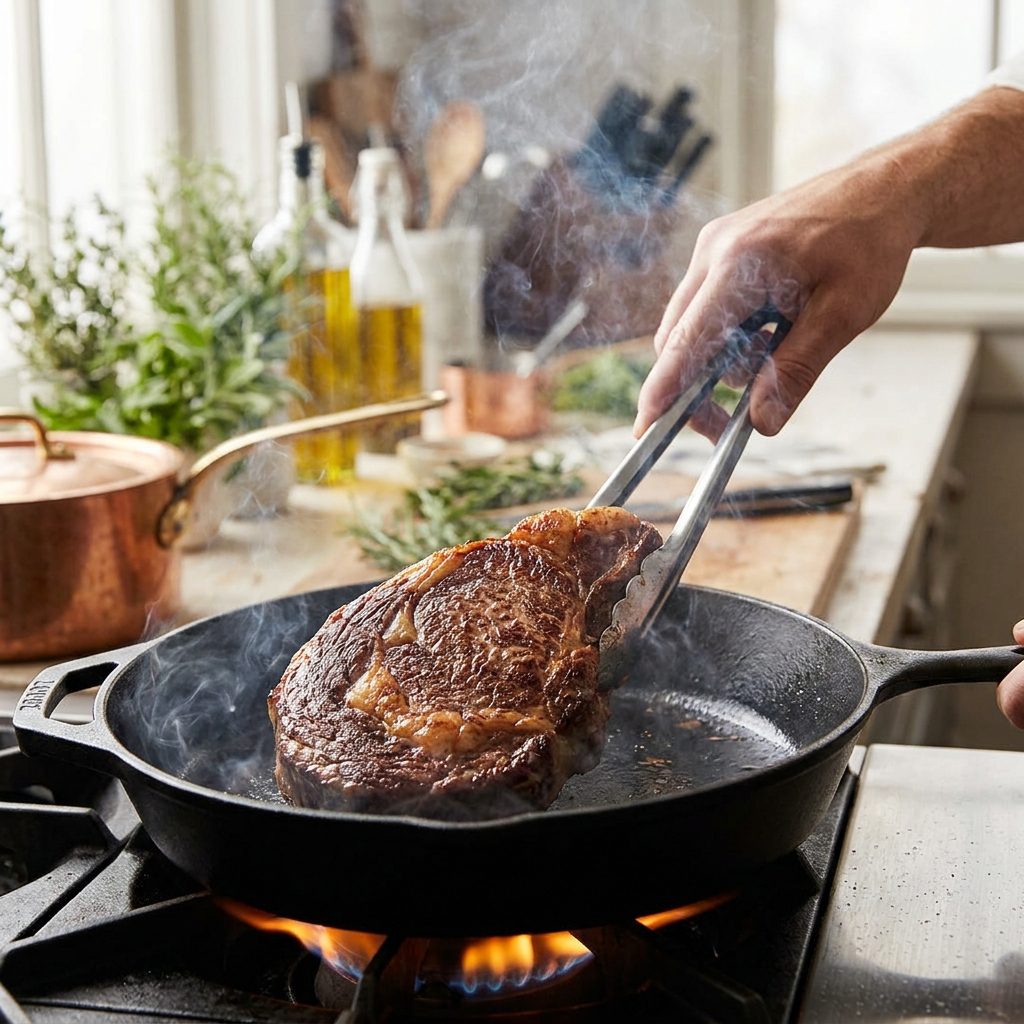
"Mastering the art of the sear is the difference between a grey, boiled-looking steak and a professional, restaurant-quality meal. This guide covers the science and technique of the Maillard reaction to help you achieve a flavorful, caramelized crust on any cut of beef."
Ingredients
| Qty | Item |
|---|---|
| Ingredient list coming soon. | |
How to Make How to Sear Beef
Step 1: Preparation and Drying
The biggest enemy of a good sear is moisture. Before the beef touches the pan, use paper towels to pat the surface completely dry on all sides. Use at least three paper towels per steak, pressing firmly to absorb any visible liquid. If the meat is wet, it will steam rather than sear, resulting in a grey exterior instead of a golden-brown crust. For thicker cuts (1.5 inches or more), leave the steak uncovered on a wire rack in the refrigerator for 2-4 hours to further dry the surface. You should feel the surface tacky, not slippery, before cooking. If you see any beading moisture after patting, dry again immediately.
Step 2: Seasoning
Once dry, season the beef generously with kosher salt and black pepper. Use about 1 teaspoon of kosher salt per pound of beef, and 1/2 teaspoon of freshly ground black pepper. Salt not only enhances flavor but also helps to draw out remaining surface moisture. For the best results, season immediately before cooking or at least 40 minutes prior to allow the salt to be reabsorbed into the meat. If seasoning 40 minutes ahead, place the steak on a rack over a tray to allow air circulation; you will see beads of moisture on the surface after 15 minutes, but they will be reabsorbed by 40 minutes. Do not use table salt—it is too fine and will over-salt the surface. If you must substitute, use half the volume. For a crust with more depth, add a pinch of garlic powder (not garlic salt) and a pinch of smoked paprika.
Step 3: Heating the Pan
Choose a heavy-bottomed pan, such as cast iron or stainless steel, which retains heat well. Place the pan over medium-high to high heat. For a 10-inch pan, heat for 3-5 minutes until a drop of water dances and evaporates immediately. Add a high-smoke-point oil (like avocado, grapeseed, or canola) and wait until the oil is shimmering and just starting to show wisps of smoke. Use about 1-2 tablespoons of oil, tilting the pan to coat the bottom evenly. If the oil begins to smoke heavily, reduce the heat slightly and wait 30 seconds before adding the beef. Do not use butter or olive oil at this stage—they will burn and create bitter flavors. If you see the oil smoking aggressively, the pan is too hot; remove it from the heat for 20 seconds to cool slightly.
Step 4: The Searing Process
Carefully place the beef into the hot pan, laying it away from you to avoid oil splatters. You should hear a loud, continuous sizzle immediately; if the sizzle is faint, the pan is not hot enough. Do not crowd the pan; leave at least 1 inch of space between pieces. If necessary, sear in batches. Let the meat sit undisturbed for 2-4 minutes. Resist the urge to move it; the beef will naturally release from the pan once a proper crust has formed. After 2 minutes, gently try to lift a corner with a spatula; if it sticks, wait 30 seconds and try again. The crust should be a deep mahogany brown, not black. If the crust is black and the interior is still raw, the heat is too high; reduce it for the next batch. If after 4 minutes the crust is pale, increase the heat and wait 1 more minute. You should hear a steady crackling sound, not a hiss—crackling indicates active browning.
Step 5: Finishing and Resting
Flip the beef to sear the remaining sides. For a 1-inch steak, sear the second side for 2-3 minutes. For a 1.5-inch steak, sear the second side for 3-4 minutes. Use tongs to sear the edges (the fat cap) for 30-60 seconds each, holding the steak on its side. The internal temperature should reach 125°F (rare), 135°F (medium-rare), or 145°F (medium) depending on preference. Once all sides have achieved a deep mahogany color, remove the meat from the pan. Transfer to a cutting board or warm plate and allow it to rest for at least 5-10 minutes to allow the juices to redistribute throughout the muscle fibers. For a 1-inch steak, rest 5 minutes; for a 2-inch steak, rest 10 minutes. Do not cover with foil—it will trap steam and soften the crust. If you cut too soon, you will see a pool of red juice on the board, indicating the meat is still releasing moisture. After resting, slice against the grain for maximum tenderness.
Tips for Best Results
-
·
<html><ul><li>Use a cast-iron skillet for the most even heat distribution and superior crust formation.</li><li>Avoid non-stick pans, as they cannot safely reach the high temperatures required for a proper sear.</li><li>Don't overcrowd the pan, as this drops the temperature and causes the meat to release liquid and steam.</li><li>Press down lightly on the meat with a spatula or tongs to ensure full contact with the pan's surface.</li><li>Use an oil with a high smoke point; extra virgin olive oil and butter will burn too quickly.</li></ul></html>
Frequently Asked Questions
Does searing lock in the juices?
What is the Maillard reaction?
Should I use butter for searing beef?
Should I sear beef straight from the refrigerator?
What to Cook Next

Next Recipe
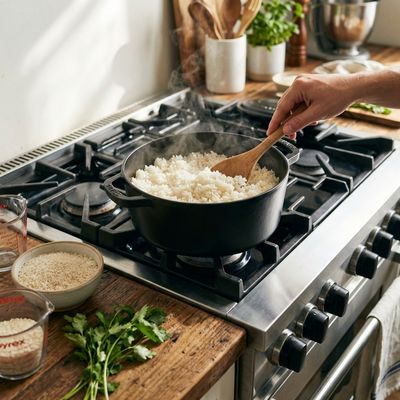
How To Cook Rice
Master the art of the perfect stovetop white rice, achieving light, fluffy, and separate grains every single time. This fail-proof method ensures a versatile side dish that complements any meal, from vibrant stir-fries to hearty stews.
Similar Recipes to Try

Tadka Tempering for Indian Dals
10 min
The Secret to Poaching Fish and Poultry in Flavorful Liquids
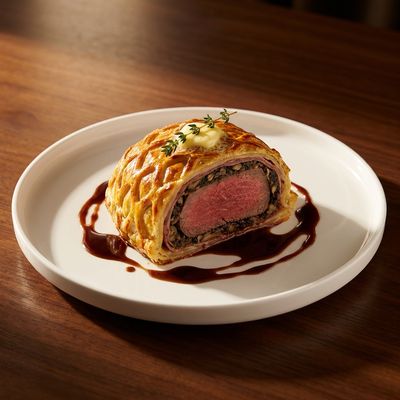
Individual Beef Wellington with Mushroom Duxelles
70 min
How to Fry Eggs
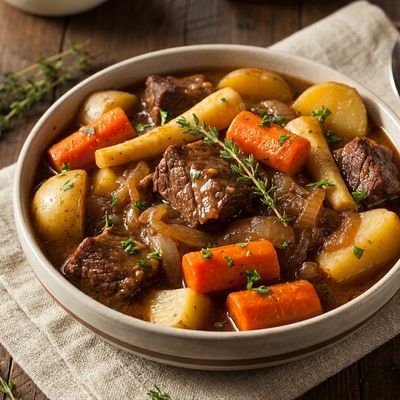
Slow-Cooker Beef and Root Vegetable Stew
500 min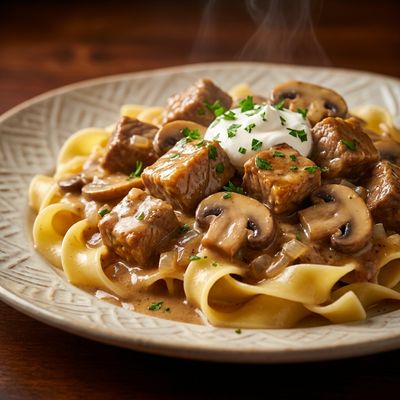
Crock Pot Beef Stroganoff with Egg Noodles
500 min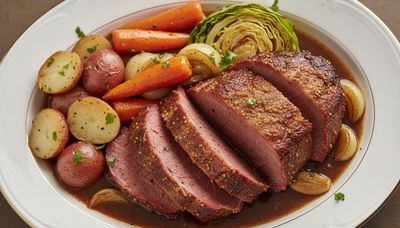
Slow Cooker Corned Beef
500 min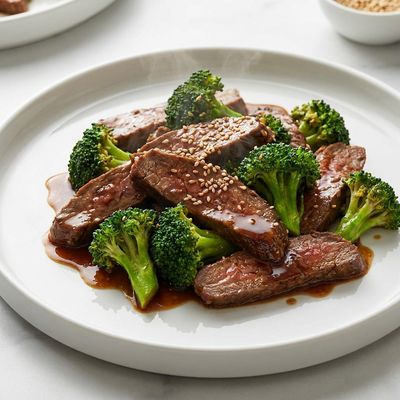
Beef and Broccoli Stir-Fry with Tamari Sauce
30 min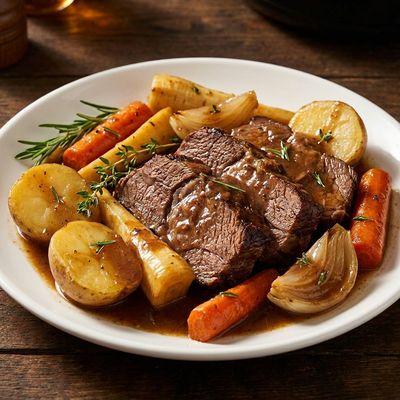
Slow-Cooker Beef Pot Roast with Root Vegetables
500 min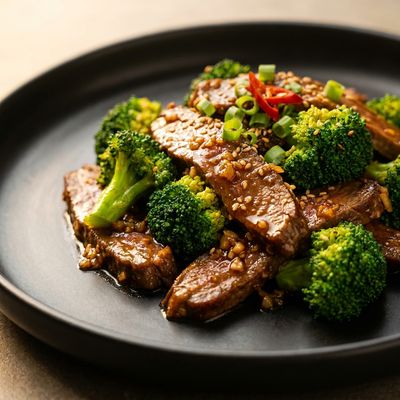
Skillet Beef and Broccoli with Ginger
30 minComments
(0)Sign in to leave a comment.
You Might Like

Ad Space Available
Be the first to leave a comment.