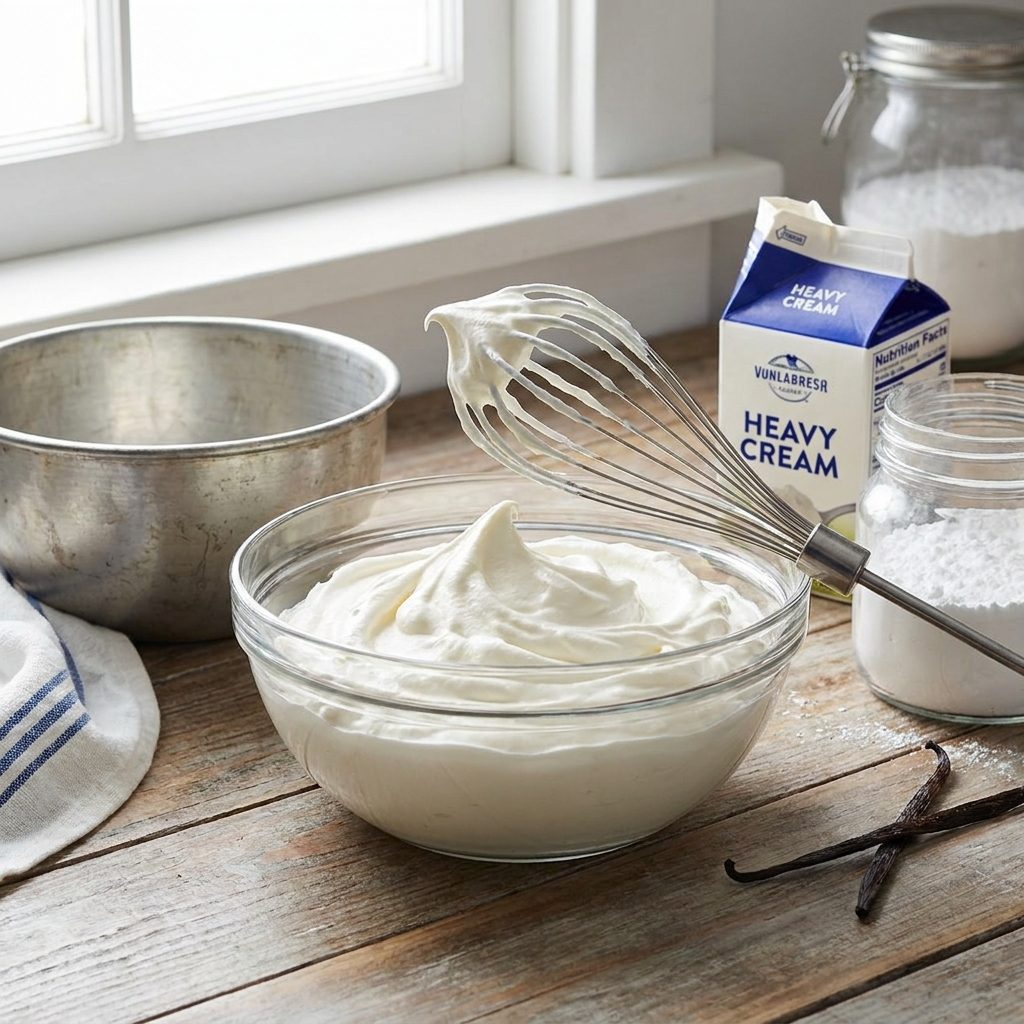
Recipe Details
"Whipped cream is a versatile culinary staple that adds a light, airy texture and rich flavor to countless desserts. Mastering this technique requires an understanding of temperature, fat content, and the specific stages of aeration to ensure a stable and delicious result."
Ingredients
| Qty | Item |
|---|---|
| Ingredient list coming soon. | |
How to Make How to Whip Heavy Cream
Step 1: Chill Your Equipment
For the best results, place your mixing bowl and whisk (or beaters) in the freezer for about 10 to 15 minutes before starting. The bowl should be metal or glass; plastic bowls retain heat and can warm the cream. If you are using a hand mixer, chill the beaters as well. A cold bowl keeps the cream below 40°F (4°C), which is critical for the fat globules to remain solid and trap air. If you skip this step, the cream may whip slowly or fail to hold peaks. For an extra-cold setup, place the bowl over an ice bath while whipping.
Step 2: Choose the Right Cream
Ensure you are using heavy cream or heavy whipping cream with at least 36% milk fat. Check the label: some brands labeled “whipping cream” have only 30% fat and will not whip into a stable foam. Lower fat contents, like half-and-half (10–18% fat) or whole milk (3.5% fat), will not whip at all. The cream should be used straight from the refrigerator (35–40°F / 2–4°C); never let it sit at room temperature before whipping. If the cream is too warm, it will turn into butter quickly. For a dairy-free alternative, use full-fat coconut cream (chilled overnight, scoop the solid top) but note it whips differently and may separate.
Step 3: Start at Low Speed
Pour the cold cream into your chilled bowl. For 1 cup (240 ml) of cream, add 2 tablespoons (30 g) of powdered sugar and 1 teaspoon (5 ml) of vanilla extract if desired. Powdered sugar contains cornstarch, which helps stabilize the foam; granulated sugar can deflate the cream. Begin whisking at a low speed (speed 2 on a hand mixer) to break up the proteins and gradually introduce air without splashing. Starting too fast (speed 8 or higher) can result in uneven aeration and large bubbles that collapse. You should hear a gentle sloshing sound, not a violent splatter. If the cream splashes, reduce speed or tilt the bowl slightly.
Step 4: Increase to Medium-High Speed
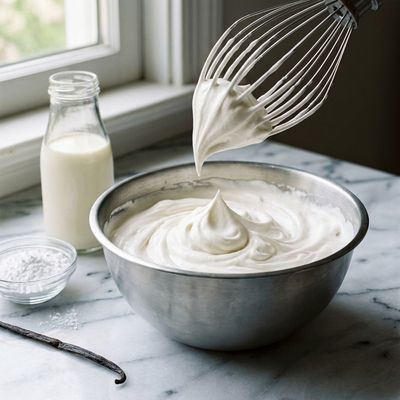
Once the cream begins to show small bubbles and slightly thickens (after about 30–45 seconds), increase the speed to medium-high (speed 6–7). Watch the cream closely as it moves through the stages. You will first see 'Soft Peaks,' where the cream holds its shape but the tip flops over when the whisk is lifted. This occurs after about 2–3 minutes of total whipping time. At this stage, the cream should be smooth and glossy. If it looks curdled or separated, the cream was too warm or overwhipped. Stop immediately if you see yellow streaks—that means butter is forming. For soft peaks, the cream should mound softly and not run off the whisk.
Step 5: Monitoring for Stiff Peaks
Continue whipping until you reach 'Stiff Peaks.' This is the point where the cream stands straight up when the whisk is lifted, and the cream holds its shape without drooping. This usually takes another 30–60 seconds after soft peaks. Stop immediately once this is achieved—overwhipping by even 10 seconds can cause the cream to become grainy or separate. If the cream starts to look grainy or yellow, you have gone too far toward making butter. To salvage, stop whipping and gently fold in a tablespoon of fresh cold cream; this may re-emulsify it slightly. If it has turned into butter, drain the buttermilk and use the butter for another purpose. For stabilized whipped cream, add 1 tablespoon (8 g) of powdered milk or 1/4 teaspoon (1 g) of gelatin dissolved in 1 tablespoon (15 ml) of cold water before whipping.
Tips for Best Results
-
·
<html><ul><li>Always use a metal or glass bowl; plastic bowls can retain grease residues that prevent the cream from aerating.</li><li>Use powdered sugar (confectioners' sugar) instead of granulated sugar, as the cornstarch in it helps stabilize the whipped cream for longer periods.</li><li>If you accidentally over-whip the cream and it looks grainy, whisk in a tablespoon of fresh, liquid heavy cream by hand to smooth it back out.</li><li>Add flavorings like vanilla extract, cocoa powder, or citrus zest only after the cream has reached the soft peak stage for even distribution.</li></ul></html>
Frequently Asked Questions
Can I whip cream by hand?
Why won't my heavy cream thicken?
How long does homemade whipped cream last?
What is the difference between heavy cream and whipping cream?
What to Cook Next

Next Recipe
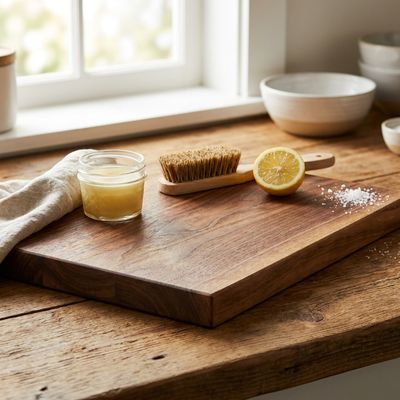
How to Clean and Maintain a Wooden Cutting Board
A high-quality wooden cutting board is an essential kitchen heirloom that requires specific care to stay safe and functional. This guide explains how to properly wash, deodorize, and oil your board to ensure it remains a beautiful centerpiece of your culinary arsenal.
Similar Recipes to Try
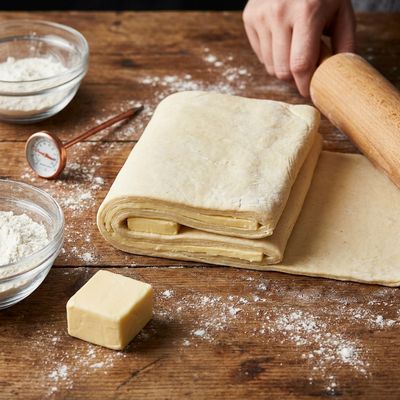
Why Cold Butter is Key to Flaky Pastry: The Science of Lamination
How To Make Oatmeal
How To Cook Pasta
14 min
Quinoa And Black Bean Salad
30 min
Whole30 Zucchini Noodles
35 min
Shahi Paneer with Cashew and Cream
45 min
White Wine: Uses, Substitutes, and How to Store It
How to Properly Grease and Flour a Cake Pan
Why You Should Wash Your Leeks and How to Do It Properly
How To Make Pancakes
45 minComments
(0)Sign in to leave a comment.
You Might Like

Ad Space Available
Be the first to leave a comment.