Recipe Details
"Learning how to properly drain excess fat is a fundamental skill that improves the texture of your dishes and makes your meals leaner. Whether you are browning ground beef or degreasing a homemade stock, these techniques ensure your final result is flavorful without being greasy."
Ingredients
| Qty | Item |
|---|---|
| Ingredient list coming soon. | |
How to Make How to Drain Excess Fat
Method 1: The Colander and Bowl Technique
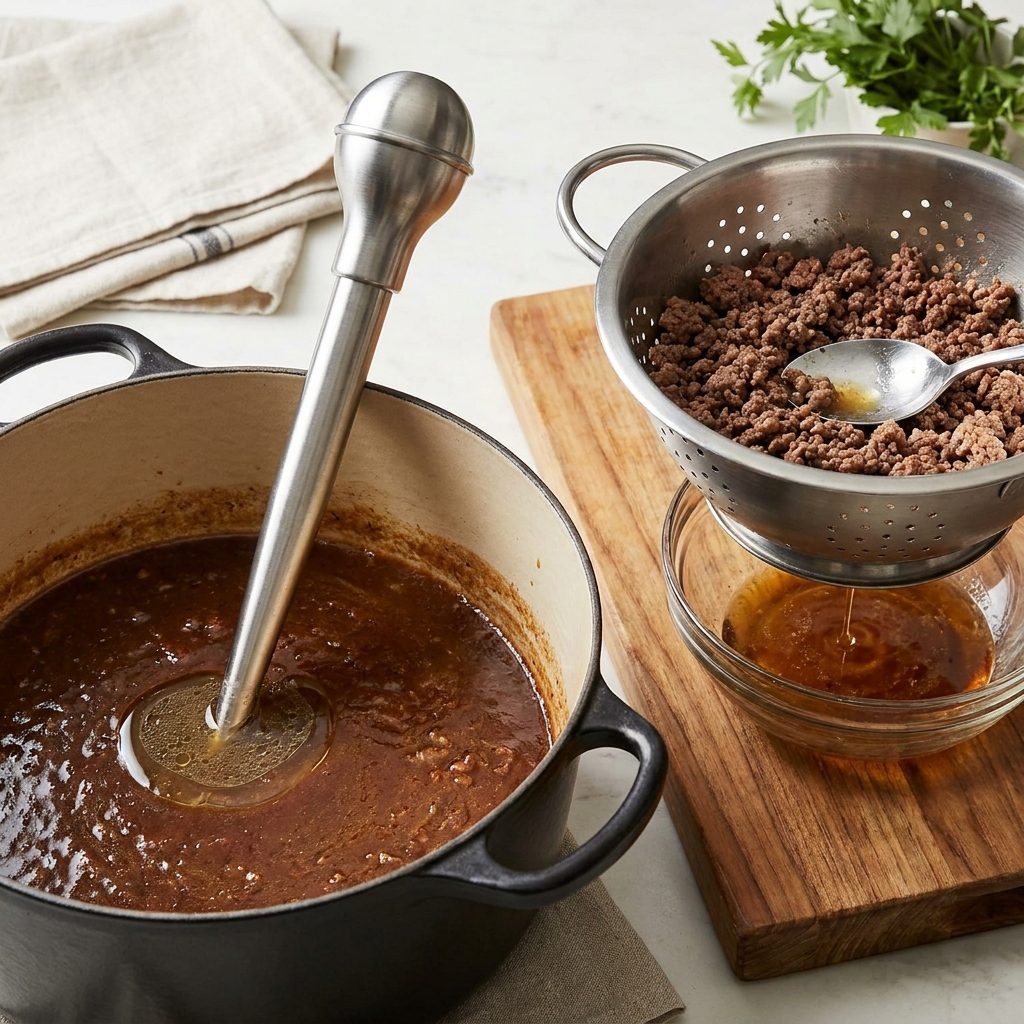
This is the most effective method for ground meats like beef, turkey, or pork. Once the meat is fully browned and the fat has rendered, place a heat-safe colander over a large glass or metal bowl. Pour the contents of the pan into the colander, allowing the liquid fat to collect in the bowl below. Let it sit for one to two minutes to ensure all grease has dripped through before returning the meat to the pan. For best results, use a fine-mesh colander to catch even the smallest bits of meat; a standard colander with large holes may let some meat fall through. If you see the fat dripping slowly, gently shake the colander to encourage drainage. When the drip slows to a few drops per second, the meat is ready to return to the pan. If you notice the meat is still greasy after one minute, let it drain for an additional 30 seconds. Avoid pressing on the meat with a spoon, as this can force meat through the holes and cloud the fat. The bowl should be at least 2 inches deeper than the colander to prevent fat from splashing over the sides. Use a bowl with a wide base to keep it stable. If you don't have a colander, a metal sieve with a handle works well; just ensure it is heat-safe up to 400°F. After draining, tilt the colander slightly to let any remaining fat pool at the edge, then tap the colander handle to release the last drops. The meat should look dry and crumbly, with no visible sheen of grease. If it still appears shiny, repeat the process with a fresh bowl.
Method 2: The Spoon and Tilt Method
If you are working with a smaller amount of fat or want to avoid extra dishes, tilt your skillet at a slight angle so the liquid fat pools at one side. Use a large metal spoon to ladle the fat out into a heat-resistant container. To get the last remaining droplets, you can use a folded paper towel held with tongs to blot the surface of the pan, absorbing the grease while leaving the flavorful bits of meat behind. Tilt the skillet at a 15-20 degree angle, using a pot holder to hold the handle steady. The fat should pool in a shallow puddle about 1/8 inch deep; if it is deeper, tilt more. Use a metal spoon with a flat edge to skim the fat, scraping gently along the pan's surface to avoid disturbing the meat. For a 12-inch skillet, you can remove about 2-3 tablespoons of fat per tilt. If the fat is too hot to handle safely, let it cool for 30 seconds before skimming. When blotting with a paper towel, fold the towel into a 2-inch square and hold it with tongs, then dab the surface in a single motion—do not rub, as that can smear grease back onto the meat. Replace the paper towel after each blot; a single towel can absorb about 1 tablespoon of fat. If you see the meat sticking to the pan, reduce the heat to medium-low before tilting. For ground meats, this method works best when the meat is in a single layer; if it is piled high, spread it out first. The sound of sizzling will decrease as you remove fat; when you hear only a faint hiss, most of the grease is gone. If the pan still feels slippery after blotting, repeat the tilt and skim process once more.
Method 3: Degreasing Soups and Stews
For liquids, the easiest method is to use a fat separator, which allows the fat to rise to the top so you can pour the broth out from the bottom. If you don't have one, you can refrigerate the liquid overnight; the fat will solidify into a hard layer on top that can be easily lifted off with a spoon. For a quick fix, skim the surface with a wide spoon or drag a clean paper towel lightly across the top of the simmering liquid to trap floating oil. A fat separator works best when the liquid is hot (above 140°F); pour slowly into the separator, leaving the fat cap behind. The spout should be at the bottom of the separator; if it clogs, tap the side gently. For refrigeration, cool the liquid to room temperature first (about 30 minutes for 4 cups), then cover and refrigerate for at least 4 hours. The fat layer should be about 1/4 inch thick for easy removal; if it is thinner, chill for an additional hour. Use a slotted spoon to lift the solid fat; if it breaks apart, use a paper towel to blot the pieces. For quick skimming, use a wide, shallow spoon (like a serving spoon) and skim at a 45-degree angle, collecting only the top layer. If you see bubbles or broth mixing in, tilt the spoon to let the liquid drain back. A paper towel dragged across the surface can absorb up to 2 teaspoons of oil per pass; use a fresh towel for each pass. If the liquid is boiling, reduce heat to a simmer (around 190°F) to prevent the fat from emulsifying. For soups with a lot of fat (like chili), you may need to skim 3-4 times. If you accidentally remove too much broth, add back a small amount of stock or water to adjust consistency. The liquid should look clear on the surface, with no visible oil slicks; if you see rainbow swirls, skim again.
Method 4: Proper Grease Disposal
Never pour liquid fat down the kitchen sink, as it will solidify and cause major plumbing clogs. Instead, let the collected fat cool and solidify in a container, such as an old coffee tin or glass jar. Once solid, you can scoop it into the trash or seal the container and dispose of it according to local waste regulations. Allow the fat to cool to room temperature (about 70°F) before transferring to a container; hot fat can crack glass jars. Use a container with a wide mouth for easy scooping; a 16-ounce coffee tin works well for up to 2 cups of fat. If the fat is still liquid after 30 minutes, place the container in the refrigerator for 1 hour to speed solidification. The solid fat should be firm enough to hold its shape when pressed; if it is soft, chill longer. When disposing, scoop the solid fat into a sealed plastic bag or wrap it in newspaper before placing in the trash to prevent leaks. For large amounts (over 1 cup), check local regulations: some areas allow composting small amounts of animal fat, while others require it to be mixed with absorbent material like sawdust or kitty litter. Never mix fat with hot ashes or chemicals. If you reuse the container, wash it with hot water and dish soap after disposal; residual fat can go rancid. The container should be labeled with the date and type of fat (e.g., beef, bacon) to avoid confusion. If you notice a rancid smell, dispose of the fat immediately and clean the container with vinegar. For deep-frying oil, let it cool completely and strain through a coffee filter before storing in a sealed container; reuse up to 3 times for similar foods. Never pour fat into plastic trash bags without solidifying, as it can melt through the bag.
Tips for Best Results
-
·
<html><ul><li><b>Don't Rinse Meat:</b> Avoid rinsing cooked ground meat with water to remove fat; this washes away significant flavor and ruins the texture.</li><li><b>The Ice Cube Trick:</b> To quickly remove fat from a hot stew, wrap a few ice cubes in a paper towel or plastic wrap and skim it over the surface. The fat will chill and cling to the cold surface.</li><li><b>Save the 'Liquid Gold':</b> If you are cooking bacon or high-quality sausage, consider saving the rendered fat in a jar in the fridge to use as a flavorful cooking oil for sautéing vegetables.</li><li><b>Use Tongs for Blotting:</b> When using paper towels to absorb grease in a hot pan, always use tongs to avoid steam burns or direct contact with the hot metal.</li></ul></html>
Frequently Asked Questions
Should I drain fat before or after adding seasonings?
Does draining fat make the meat dry?
Can I pour hot grease into a plastic container?
Is it necessary to drain fat from lean ground turkey?
What to Cook Next
Next Recipe
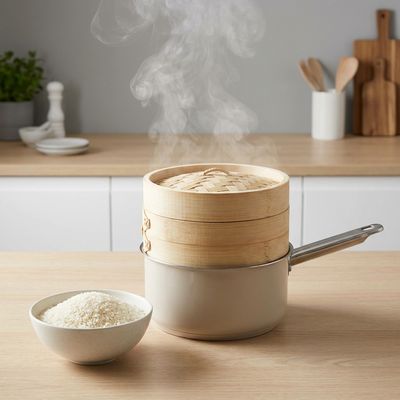
How to Steam Jasmine Rice
Jasmine rice is prized for its delicate floral aroma and soft, slightly sticky texture. This guide teaches you the essential culinary techniques to steam jasmine rice to perfection, whether you are using a stovetop or traditional equipment.
Similar Recipes to Try
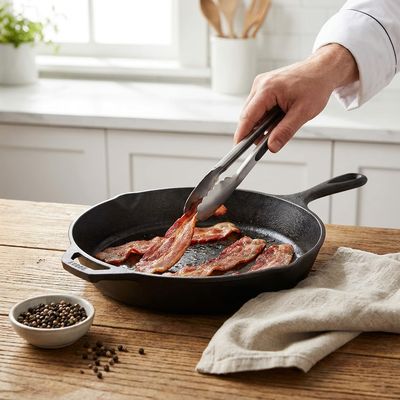
How To Fry Bacon
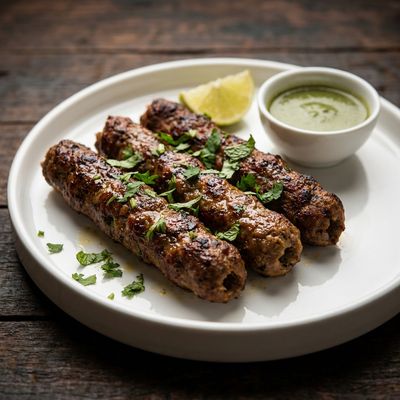
Seekh Kebab with Minced Lamb and Spices
35 min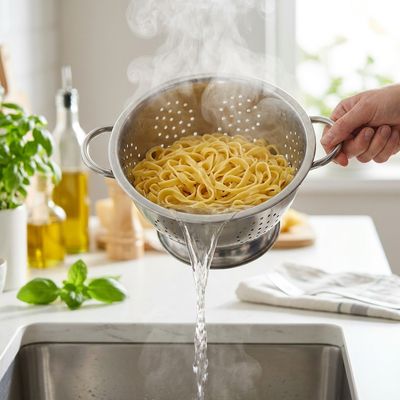
How to Drain Noodles
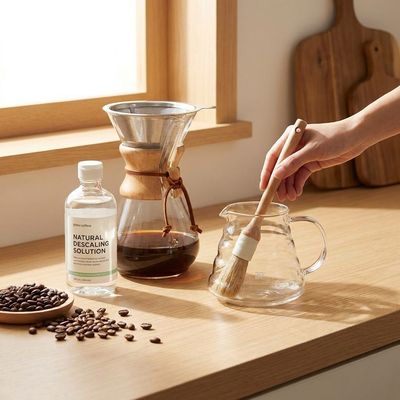
How to Descale Your Coffee Maker for Better Tasting Coffee
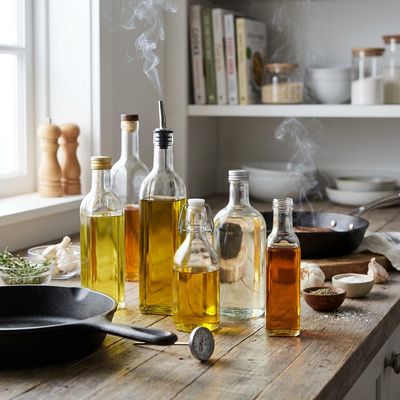
A Beginner's Guide to Cooking Oils and Smoke Points
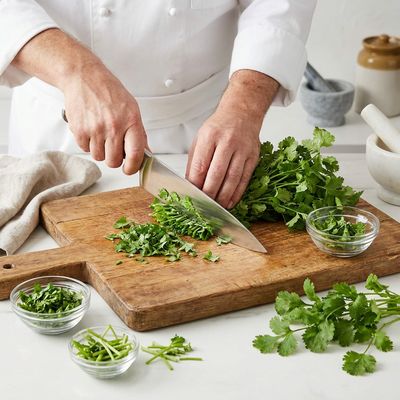
How to Chop Cilantro
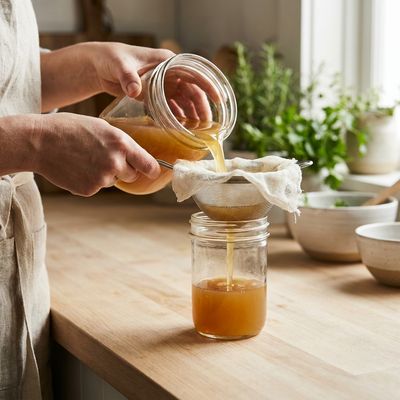
How to Strain Broth
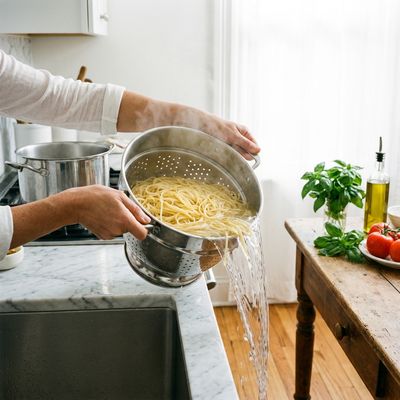
How to Drain Pasta
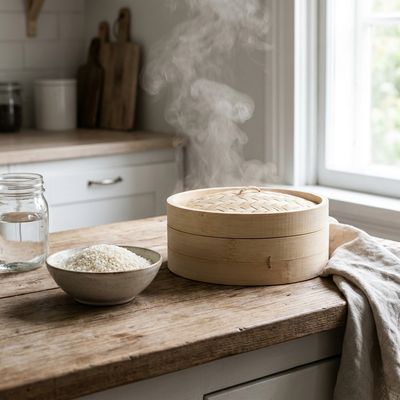
How to Steam White Rice
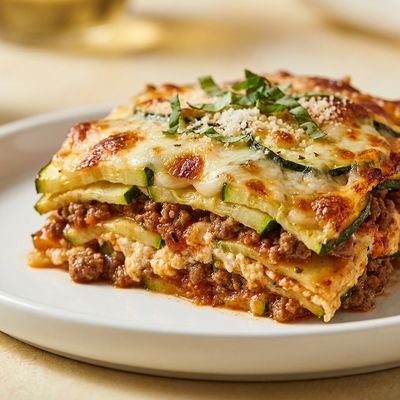
Low-Carb Zucchini Lasagna with Ground Beef
70 minComments
(0)Sign in to leave a comment.
You Might Like
Ad Space Available
Be the first to leave a comment.