Recipe Details
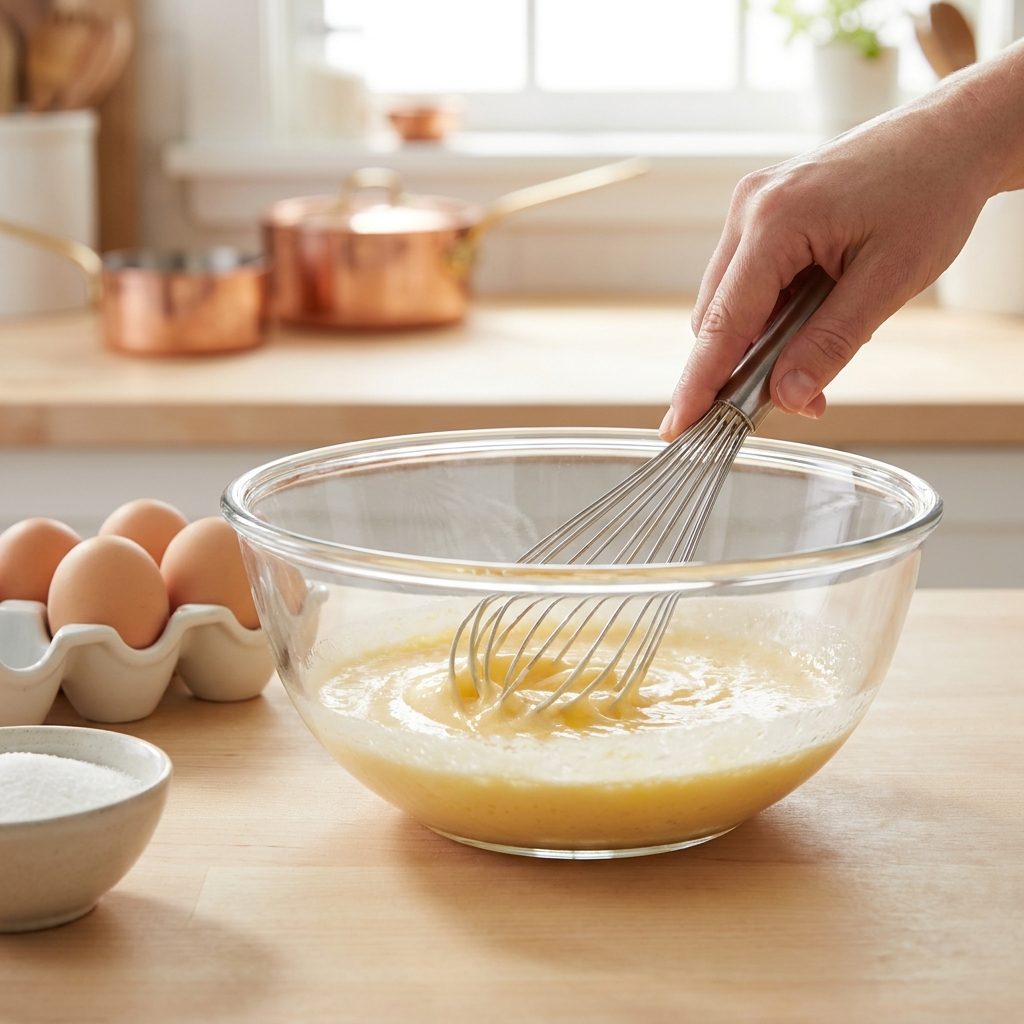
"Whisking egg yolks is a fundamental culinary skill used to emulsify sauces, thicken custards, and create rich textures in baking. This guide covers everything from choosing the right equipment to achieving the perfect pale-yellow consistency for any recipe."
Ingredients
| Qty | Item |
|---|---|
| Ingredient list coming soon. | |
How to Make How to Whisk Egg Yolks
Step 1: Choose Your Equipment
Select a medium-sized stainless steel or glass mixing bowl. Avoid reactive metals like aluminum, which can discolor the yolks and impart a metallic taste. A balloon whisk with flexible wires is the ideal tool for incorporating air and breaking down the protein structures efficiently. The wires should be springy but not too thin—aim for 8 to 10 wires per whisk. A bowl with a rounded bottom (not flat) allows the whisk to reach all yolks without leaving unblended pockets. If you lack a balloon whisk, a flat or piano-wire whisk works for mixing but less for aeration. For stubborn lumps, a silicone spatula can help scrape the sides.
Step 2: Prepare the Yolks
Separate your egg yolks from the whites while the eggs are cold, as the yolks are less likely to break. Crack the egg on a flat surface rather than the bowl’s edge to reduce shell shards. For each yolk, aim for at least 15 g of yolk (standard large egg). If a yolk breaks into the whites, remove it with a piece of shell—a wet finger also works. However, for the best results in emulsification or volume, allow the separated yolks to sit at room temperature for about 10-15 minutes before you begin whisking. Cold yolks are thick and resist aeration; room-temperature yolks (around 68°F/20°C) whip to triple the volume. Do not leave them out longer than 30 minutes to avoid bacterial growth. If time is short, place the bowl of yolks in a warm water bath (100°F/38°C) for 2 minutes, stirring gently.
Step 3: Establish a Stable Base
To whisk effectively with one hand, you need the bowl to stay still. Place a damp kitchen towel in a ring shape on your counter and set the bowl inside it. This 'nest' prevents the bowl from spinning or sliding while you apply force. The towel should be folded into a coil about 2 inches thick and 6 inches in diameter. If you don’t have a towel, a silicone mat or non-slip shelf liner works. Alternatively, have a helper hold the bowl. A bowl that tilts leads to splashing and uneven aeration. Check stability before starting: give the bowl a gentle push—it should not move.
Step 4: The Whisking Technique
Hold the whisk handle like a pencil or a baton. Use your wrist rather than your entire arm to create motion. For simple blending, a circular motion works well—sweep the whisk around the bowl’s circumference, tilting the bowl slightly. For aeration or creating the 'ribbon stage' with sugar, use a side-to-side or figure-eight motion to cut through the yolks and incorporate maximum air. The figure-eight should cover the entire bowl diameter, with the whisk dipping in and out of the mixture. Whisk at a rate of about 2-3 strokes per second. You should hear a rhythmic slapping sound as air is trapped. After 2 minutes, the yolks will thicken and lighten in color from deep orange to pale lemon. If the mixture remains thin, tilt the bowl—it should flow slowly like lava. For ribbon stage: lift the whisk; the mixture should fall in a ribbon that stays on the surface for 3 seconds before sinking. If it sinks immediately, whisk 30 seconds more. If it’s too stiff and forms peaks, you have overwhisked—start over because the proteins have tightened, and reheating won’t fix the texture.
Step 5: Incorporating Ingredients
If the recipe calls for sugar, add it gradually while whisking constantly. Do not let sugar sit on top of unbeaten yolks, as the sugar can 'burn' the yolks, creating hard, grainy bits that won't dissolve. Add sugar in a thin stream over 10-15 seconds, not all at once. For each yolk, use 15-30 g of granulated sugar (for balanced sweetness). Whisk until the mixture is pale yellow and thick—about 5 minutes total. The mixture should fall from the whisk in a thick, smooth ribbon. If using liquids like oil or melted butter, add them in a slow, steady stream (about 1 tablespoon every 10 seconds) while whisking briskly. For oil-based mayonnaise, start with 1 teaspoon of lemon juice per yolk. If the mixture looks curdled (separated), fix by adding 1 tablespoon of water or vinegar and whisk vigorously. For dry ingredients (flour, cocoa), sift them over the mixture in three additions, folding with a spatula after each—do not whisk or you’ll deflate the yolks. A common mistake: adding liquid too fast causes separation; if this happens, stop adding, whisk in a new yolk, then resume. The final mixture should be glossy and hold a trail from the whisk for 2-3 seconds. If it looks granular, the sugar hasn’t dissolved—place the bowl over simmering water for 1 minute, whisking, then remove and continue off heat.
Tips for Best Results
-
·
<html><ul><li>Always whisk immediately after adding sugar to prevent the yolks from dehydrating and forming lumps.</li><li>For hollandaise or mayonnaise, whisk the yolks briefly alone to stabilize them before slowly drizzling in fats.</li><li>A pinch of salt can help break down the yolk proteins, making them easier to whisk into a smooth consistency.</li><li>If your arm gets tired, switch to a figure-eight motion, which uses different muscle groups than circular whisking.</li></ul></html>
Frequently Asked Questions
What is the 'ribbon stage' when whisking yolks?
Can I over-whisk egg yolks?
Why do my whisked yolks have orange spots?
Is it better to whisk by hand or use an electric mixer?
What to Cook Next
Next Recipe
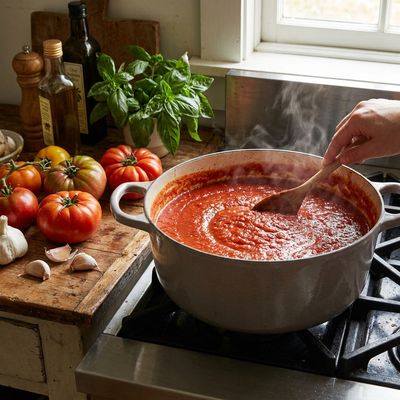
How To Make Homemade Tomato Sauce
Mastering the art of homemade tomato sauce is a foundational skill for any home cook. This guide breaks down the process from selecting the right tomatoes to achieving the perfect balance of acidity and sweetness through proper simmering techniques.
Similar Recipes to Try
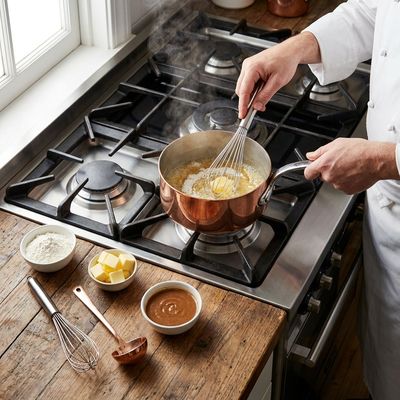
How to Make a Roux: The Essential Guide to Thickening Sauces
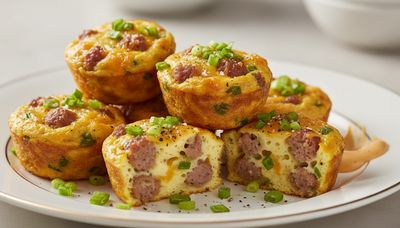
Sausage And Egg Bites
40 min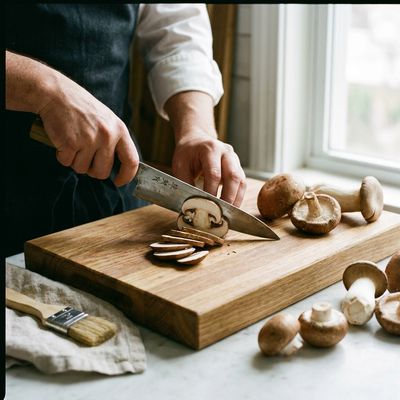
How to Slice Mushrooms
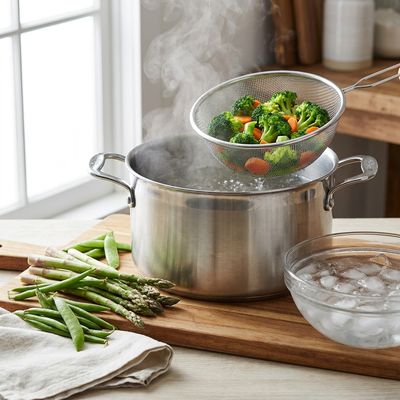
How to Blanch Vegetables for Longer Freezer Life
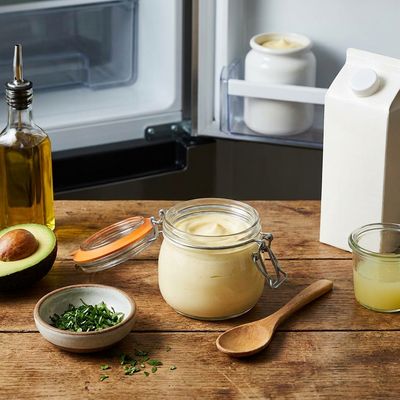
Mayonnaise: Uses, Substitutes, and How to Store It
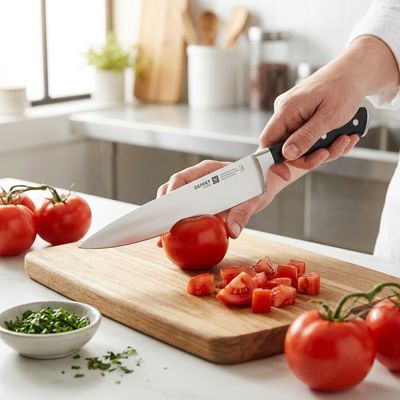
How to Dice Tomatoes
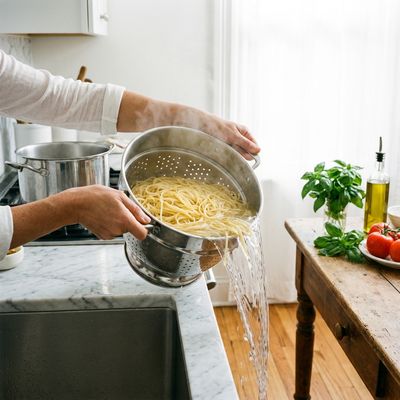
How to Drain Pasta
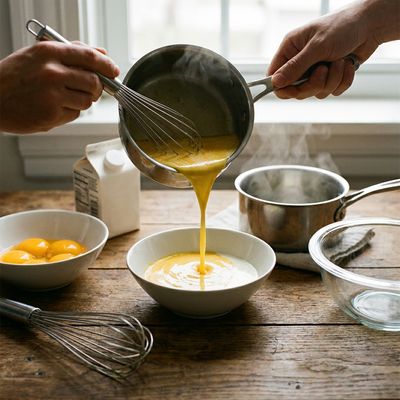
How to Temper Eggs for Smooth Custards and Sauces
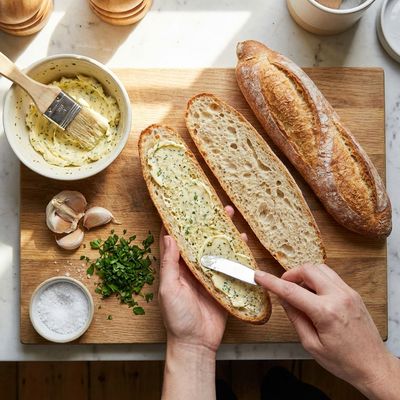
How To Make Garlic Bread
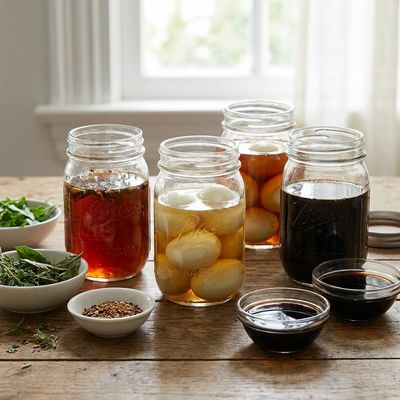
How to Marinate Eggs
Comments
(0)Sign in to leave a comment.
You Might Like
Ad Space Available
Be the first to leave a comment.