Step 1: Assess Your Cooking Style and Space
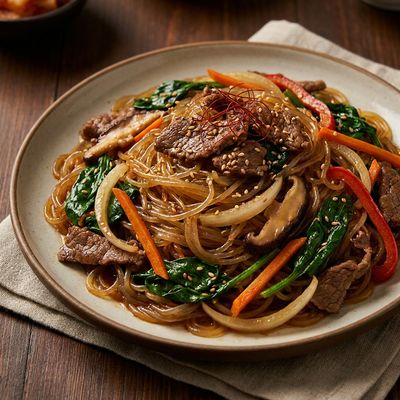
Before rushing to the grocery store, evaluate the types of meals you enjoy and the storage space available in your kitchen. If you love Italian food, you might prioritize pasta and balsamic vinegar; if you prefer Asian cuisine, soy sauce and rice will be your staples. Clear out your cupboards to ensure you have a clean, dry, and cool space to store your new supplies.
Step 2: Start with Grain and Legume Foundations
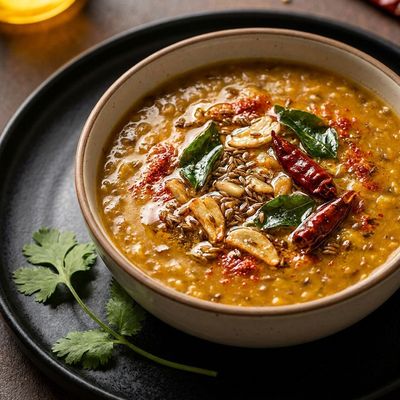
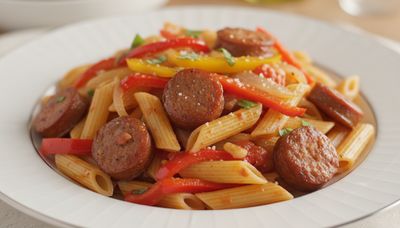
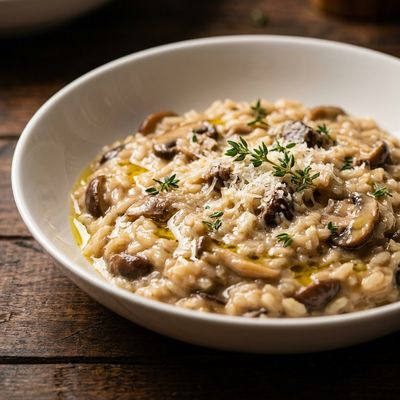
Grains and legumes are the building blocks of most meals. Begin by purchasing a versatile long-grain rice (like Jasmine or Basmati), a box of all-purpose pasta (such as penne or spaghetti), and a bag of dried lentils or chickpeas. These items have a long shelf life and provide the necessary carbohydrates and proteins for a balanced dish.
Step 3: Source Essential Fats and Acids
Every cook needs a high-heat cooking oil and a flavorful finishing oil. Start with a neutral oil like canola or grapeseed for frying and sautéing, and a bottle of Extra Virgin Olive Oil for dressings and drizzling. Supplement these with two basic acids: white distilled vinegar for cleaning or quick pickles, and apple cider vinegar or red wine vinegar for sauces and vinaigrettes.
Step 4: Build a Functional Spice Rack
Avoid the temptation to buy pre-filled spice racks. Instead, start with the 'Big Five': Kosher salt, black peppercorns (with a grinder), garlic powder, dried oregano, and smoked paprika. These five ingredients allow you to season almost any protein or vegetable effectively. Add more specialized spices as you encounter them in recipes.
Step 5: Stock Canned and Jarred Reinforcements
Canned goods are the ultimate convenience for new cooks. Keep at least three cans of diced tomatoes (the base for many sauces), a jar of chicken or vegetable bouillon, and canned beans (black or kidney). These items can be transformed into a soup, stew, or pasta sauce in under twenty minutes.
Step 6: Implement a Rotation and Storage System
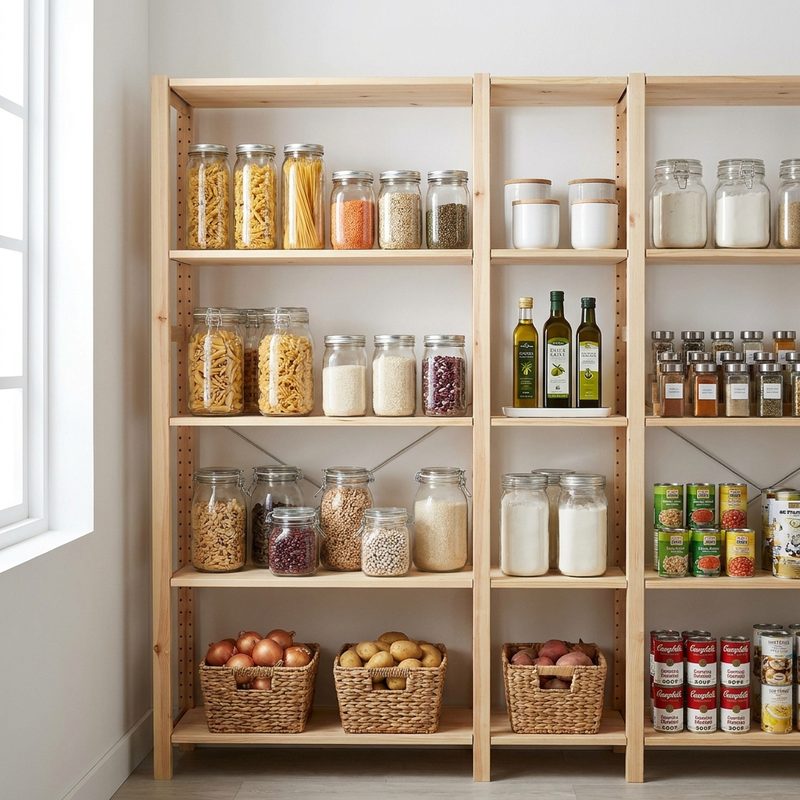
Once you have your ingredients, transfer dry goods like flour, sugar, and rice into airtight glass or plastic containers to prevent pests and staleness. Use the 'First In, First Out' (FIFO) method: always place newer items behind older ones to ensure nothing expires at the back of the shelf.
Key Takeaways
- ✓ <ul><li>Buy store-brand staples for items like salt, sugar, and flour to save money for high-quality oils.</li><li>Check the 'Best By' dates on canned goods every six months to ensure freshness.</li><li>Store oils away from the stove; heat and light cause them to turn rancid more quickly.</li><li>Keep a running list on your fridge of items that are running low to avoid mid-recipe emergencies.</li><li>Start small: only buy ingredients for the recipes you plan to cook this week, then build from there.</li></ul>