Step 1: Selection and Sorting
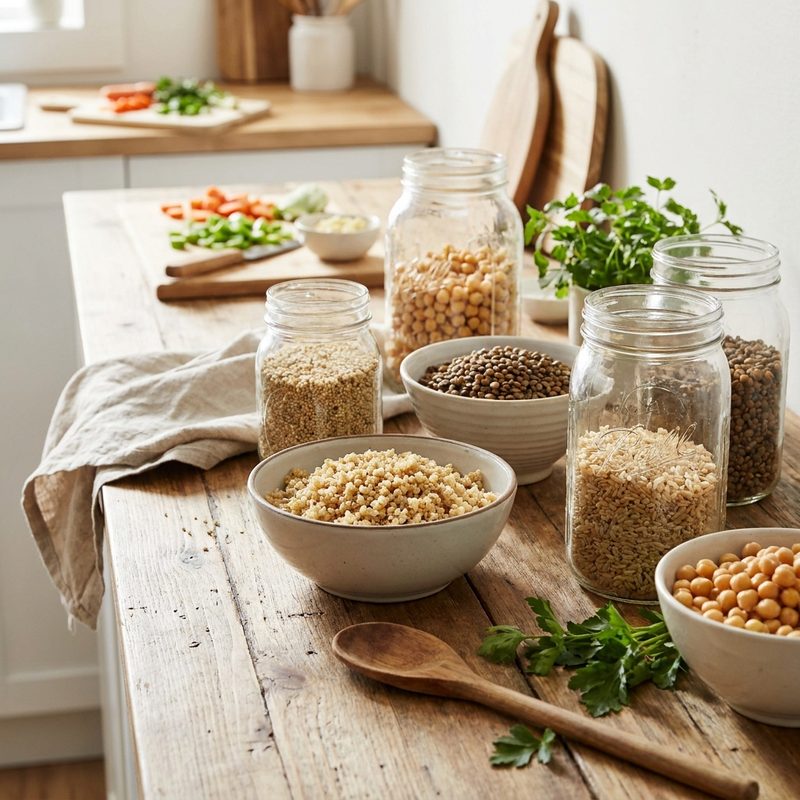
Start by selecting the grains and legumes you want to prep for the week. For grains, consider staples like brown rice, quinoa, farro, or barley. For legumes, choose from chickpeas, black beans, lentils, or kidney beans. Before cooking, spread dry legumes on a light-colored surface or baking sheet to check for small stones, debris, or shriveled pieces that should be discarded.
Step 2: Rinsing and Soaking
Always rinse grains and legumes under cold running water in a fine-mesh sieve to remove dust and surface starch. For most legumes (except lentils and split peas), soaking is a crucial step. Place them in a large bowl, cover with several inches of water, and let them sit for 8 to 12 hours. This process reduces cooking time and makes them easier to digest by breaking down complex sugars.
Step 3: Choosing Your Cooking Method
Grains and legumes can be cooked using the absorption method, the pasta method (boiling in excess water and draining), or a pressure cooker. For maximum efficiency, use a multicooker or Instant Pot for legumes to skip the long simmering times. For grains like quinoa, use a 2:1 water-to-grain ratio, bring to a boil, then simmer covered until the liquid is absorbed.
Step 4: Infusing Flavor
Avoid cooking in plain water. Use vegetable or chicken stock, or add aromatics like a bay leaf, smashed garlic cloves, or a halved onion to the cooking pot. However, wait until the beans are tender before adding salt or acidic ingredients like tomato or lemon juice, as these can toughen the skins and prevent them from softening properly.
Step 5: Proper Cooling and Storage
Never put hot grains or legumes directly into the refrigerator, as the trapped steam will make them mushy and can raise the fridge temperature. Spread them out on a large rimmed baking sheet to cool quickly. Once at room temperature, portion them into airtight containers. Grains and legumes typically stay fresh for 4 to 5 days in the refrigerator or up to 3 months in the freezer.
Key Takeaways
- ✓ <html><ul><li>Flash freeze cooked grains on a tray before bagging them to prevent them from clumping together into a solid block.</li><li>Keep the bean cooking liquid (aquafaba) to use as a thickener for soups or a base for vegan sauces.</li><li>Add a piece of kombu (dried seaweed) to the soaking water of beans to further enhance digestibility.</li><li>Undercook grains slightly if you plan to reheat them later in stir-fries or soups to maintain a firm texture.</li></ul></html>