Recipe Details
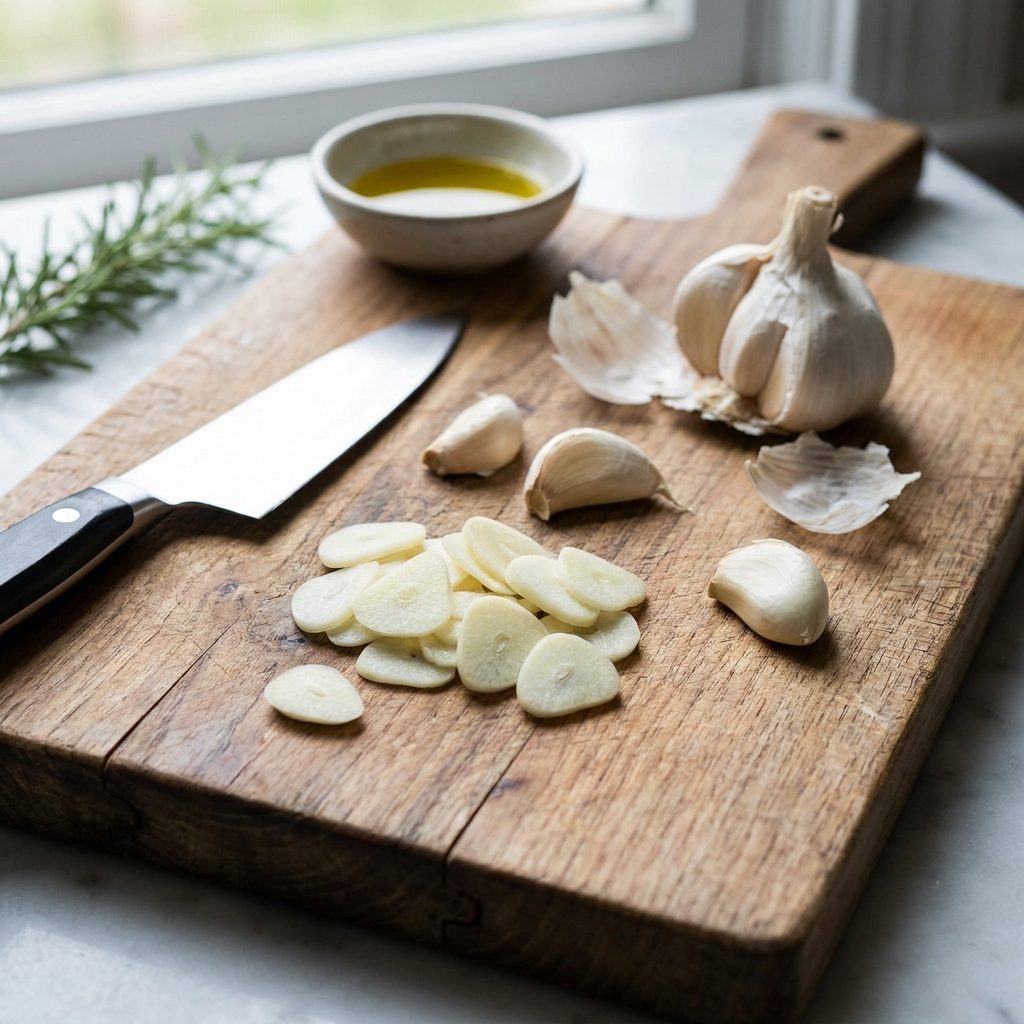
"Slicing garlic is a fundamental skill that provides a mellow, sweet pungency to dishes without the intense heat of mincing. This guide covers everything from basic prep to achieving professional-grade thinness."
Ingredients
| Qty | Item |
|---|---|
| Ingredient list coming soon. | |
How to Make How to Slice Garlic
Step 1: Prep and Peel
Start by separating the desired number of cloves from the garlic bulb. A typical recipe calls for 2–4 cloves; for a full head, separate up to 12. Place a clove on your cutting board with the pointed tip facing away. Lay the flat side of a chef’s knife over the clove, positioning the blade parallel to the board. Press down firmly with the heel of your hand, directly above the clove, until you hear a clean crack—this loosens the skin without crushing the flesh. If the clove is very small, use the lighter pressure of your palm to avoid shattering it. Once the skin is loose, peel it away from the base toward the tip; if it sticks, re-crack gently. Trim off the woody root end—about 1/8 inch—by making a clean perpendicular cut. Discard any green sprout in the center, as it is bitter. For a wet or sticky clove, rinse it quickly under cold water and pat dry to improve grip.
Step 2: Stabilize the Garlic
To ensure safe and even cuts, place the peeled garlic clove flat-side down on your cutting board. The natural flat side is where the skin was cracked; if the clove is particularly curved or rounded, slice a tiny sliver—no more than 1/16 inch—off one side to create a perfectly flat, stable base that won’t roll while you work. Test stability by nudging the clove with your fingertip; it should remain motionless. On a damp paper towel placed under the board, the clove will stay even more secure. For very fresh, moist garlic, wipe the board dry first to prevent slipping. If you have multiple cloves, stabilize them one at a time; stacking or clustering increases the risk of uneven cuts and knife slippage.
Step 3: The Claw Grip
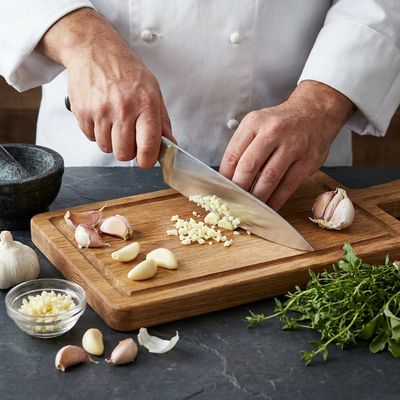
Position your non-dominant hand in a ‘claw’ shape, tucking your fingertips under and using your knuckles as a guide for the blade. The side of your thumb should press against the side of the garlic, not the top. Your knuckles should be parallel to the blade, about 1/4 inch behind where the knife will land. This protects your fingers and allows for consistent thickness. Hold the knife with your dominant hand, ensuring the blade is sharp for the cleanest cuts—test sharpness by slicing through a paper towel; it should cut without tearing. If the knife is dull, it will crush the garlic rather than slice, releasing excess moisture and allicin prematurely, leading to a harsh raw bite. For safety, keep the knife blade angled slightly away from your body and never lift it higher than the height of the garlic clove.
Step 4: Executing the Slice
Using a smooth rocking motion (for a chef’s knife) or a gentle forward push (for a santoku), begin slicing the garlic from the tip toward the root. For standard recipes, aim for slices about 1/16th of an inch thick—about the thickness of two stacked quarters. For ‘Goodfellas-style’ garlic that melts into sauces, use a very sharp blade to create translucent, paper-thin slivers, no thicker than 1/32 inch, so they dissolve within minutes of heat. To achieve this, angle the knife at roughly 15 degrees relative to the board and apply steady, even pressure. You should hear a clean, consistent sawing sound—if you hear a crunch or squish, your blade is too dull or your angle is too steep. Work from the tip to the root end in a single pass; if you stop mid-clove, the next slice may have a ragged edge. After every three slices, check that the slices are uniform; if they vary by more than 1/32 inch, adjust your knuckle guide or knife angle. For very thin slices, count 8–10 slices per clove; for standard, 4–6. If the garlic starts to stick to the knife, wipe the blade with a damp cloth to prevent tearing. When the slices are complete, immediately transfer them to a bowl; leaving them on the board exposes more surface area to air, accelerating oxidation and browning within 5 minutes, which turns the aroma flat and sulfurous.
Tips for Best Results
-
·
<html><ul><li>Always use a sharp knife; a dull blade will crush the garlic fibers rather than slicing through them cleanly.</li><li>If the garlic clove has a green sprout (the germ) in the center, slice the clove in half lengthwise and remove it to avoid a bitter aftertaste.</li><li>Use a smaller utility or paring knife if you find a large chef's knife too unwieldy for small cloves.</li><li>To remove the garlic smell from your hands, rub them against a stainless steel sink or spoon under cold running water.</li></ul></html>
Frequently Asked Questions
Is sliced garlic better than minced garlic?
How thin should I slice garlic?
Can I use a mandoline to slice garlic?
How long does sliced garlic stay fresh?
What to Cook Next
Next Recipe
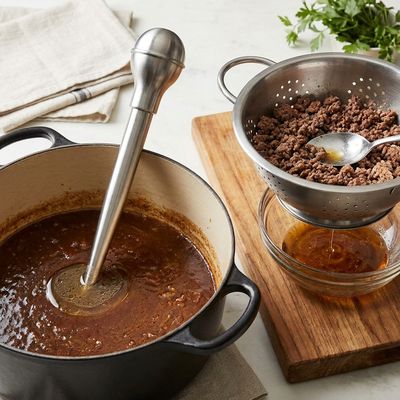
How to Drain Excess Fat
Learning how to properly drain excess fat is a fundamental skill that improves the texture of your dishes and makes your meals leaner. Whether you are browning ground beef or degreasing a homemade stock, these techniques ensure your final result is flavorful without being greasy.
Similar Recipes to Try
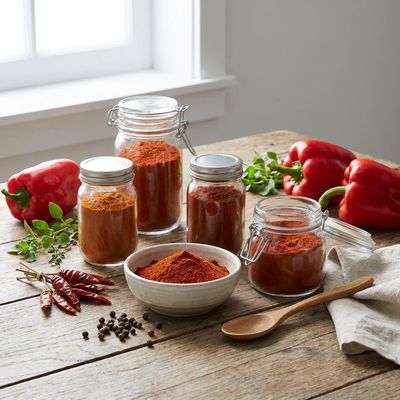
Paprika: Uses, Substitutes, and How to Store It
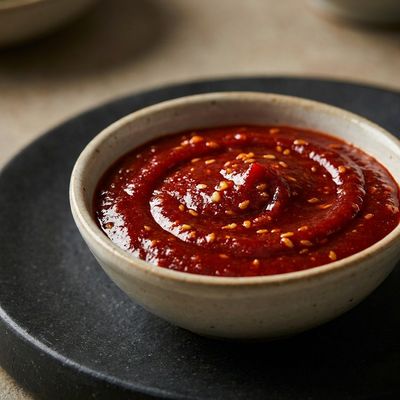
Gochujang Sauce Base for Korean Cooking
15 min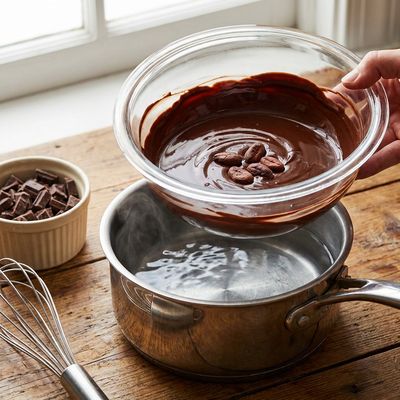
How To Melt Chocolate

How To Make Salad Dressing
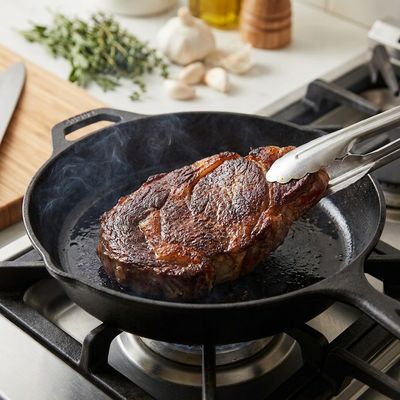
How to Pan Sear Meat for a Perfect Crust Every Time
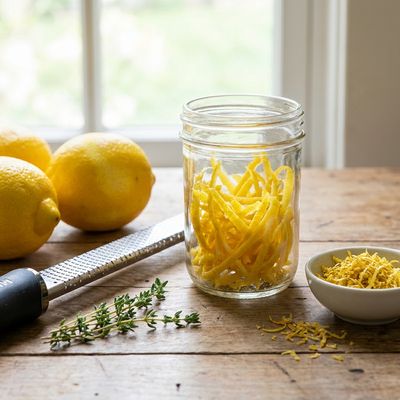
Lemon Zest: Uses, Substitutes, and How to Store It
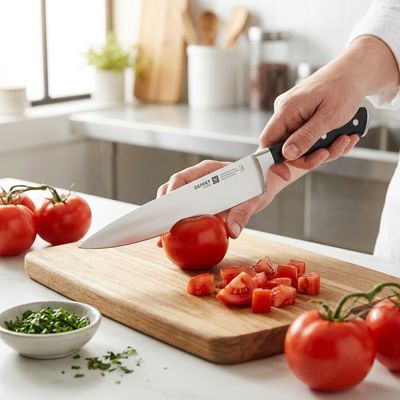
How to Dice Tomatoes
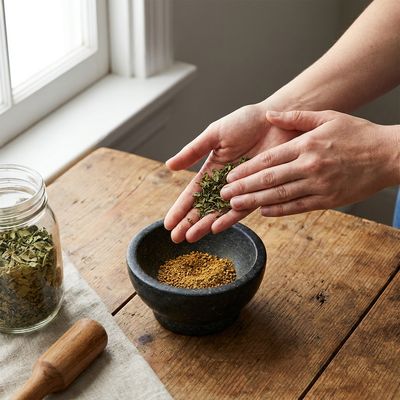
How to Crush Kasuri Methi
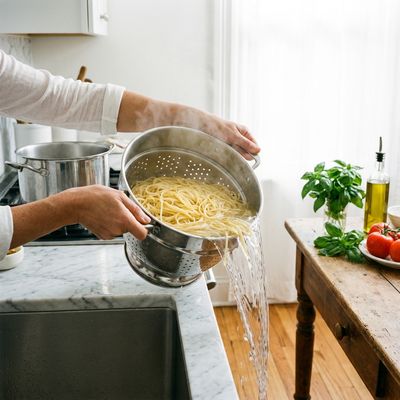
How to Drain Pasta
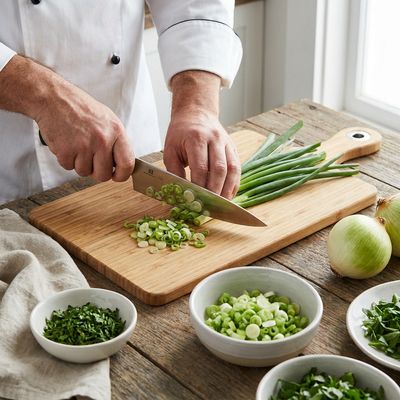
How to Chop Green Onions
Comments
(0)Sign in to leave a comment.
You Might Like
Ad Space Available
Be the first to leave a comment.