Recipe Details
"Searing meat is more than just cooking; it is a chemical transformation that creates depth of flavor and a satisfying texture. This guide breaks down the essential steps to achieving a professional-grade crust on any cut of meat through heat management and proper technique."
Ingredients
| Qty | Item |
|---|---|
| Ingredient list coming soon. | |
How to Make How to Pan Sear Meat for a Perfect Crust Every Time
Step 1: Dry the Surface Thoroughly
The biggest enemy of a good sear is moisture. Before the meat hits the pan, use paper towels to pat every surface completely dry. Any residual water will turn into steam when it hits the heat, preventing the Maillard reaction from occurring and leaving you with grey, boiled-looking meat rather than a golden crust.
Step 2: Choose the Right Cookware
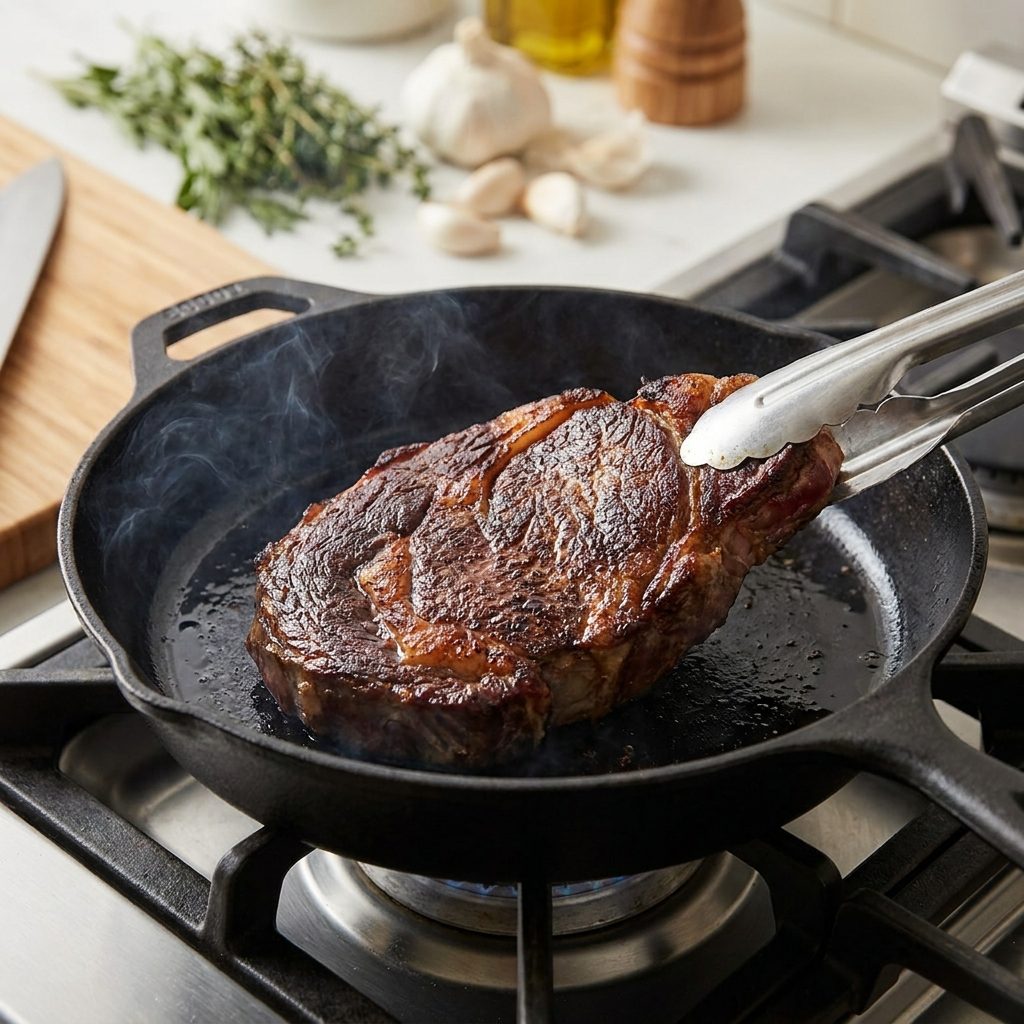
Avoid non-stick pans for high-heat searing as they cannot withstand the necessary temperatures and don't provide the same surface friction. Instead, opt for cast iron or heavy-bottomed stainless steel. These materials retain heat exceptionally well, ensuring the temperature does not drop significantly when the meat is added.
Step 3: Preheat and Oil Selection
Heat your pan over medium-high heat for several minutes until it is intensely hot. Add an oil with a high smoke point, such as avocado oil, grapeseed oil, or clarified butter (ghee). You will know the pan is ready when the oil begins to shimmer and shows thin, wisps of smoke.
Step 4: The Contact and Release
Lay the meat into the pan, laying it away from you to avoid oil splatters. Once it touches the pan, leave it alone. Resisting the urge to move or poke the meat is the most important part of the process. The meat will naturally release from the pan surface once a proper crust has formed; if it sticks, it usually needs another minute.
Step 5: Basting and Resting
Flip the meat using tongs once the first side is deeply browned. For a professional finish, add a knob of cold butter, smashed garlic, and fresh herbs like thyme or rosemary during the final minute of cooking. Spoon the foaming butter over the meat to enhance the crust. Finally, always let your meat rest on a cutting board for at least 5-10 minutes to allow the juices to redistribute.
Tips for Best Results
-
·
<html><ul><li>Salt your meat either immediately before cooking or at least 45 minutes prior; salting 10 minutes before draws out moisture that ruins the sear.</li><li>Use a heavy-bottomed pan to prevent hot spots and ensure even heat distribution across the entire surface.</li><li>Do not overcrowd the pan; cooking too many pieces at once lowers the pan temperature and creates steam.</li><li>Press down lightly on the meat with a spatula or tongs during the first 30 seconds to ensure total contact with the hot surface.</li><li>Invest in an instant-read thermometer to ensure the interior is cooked to your preference without having to cut into the meat and lose juices.</li></ul></html>
Frequently Asked Questions
Why does my meat look grey instead of brown?
What is the best oil for searing?
Should I sear meat straight from the refrigerator?
When is the best time to add butter for flavor?
What to Cook Next
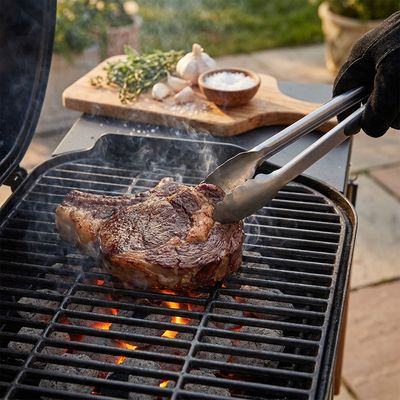
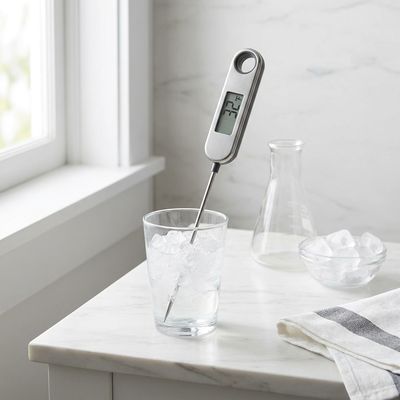
Next Recipe
How to Calibrate an Instant-Read Meat Thermometer
An accurate thermometer is the difference between a juicy steak and a dry disappointment. This guide walks you through the essential steps to calibrate your instant-read thermometer, ensuring your kitchen measurements are always spot on.
Similar Recipes to Try
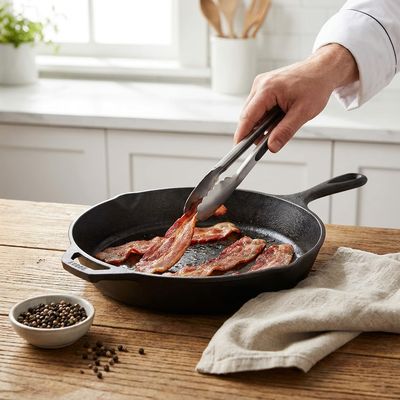
How To Fry Bacon

How to Tell if Fish is Fresh: A Seafood Buying Guide
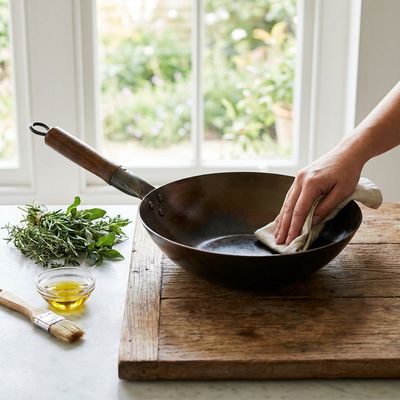
How to Properly Season a Carbon Steel Wok
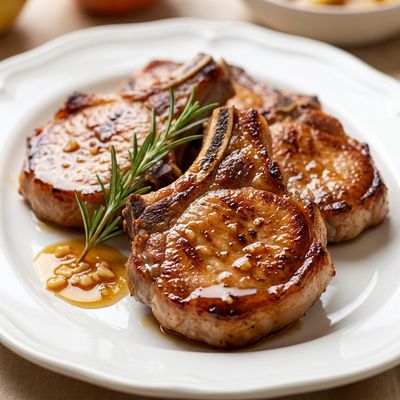
Pan-Seared Pork Chops with Apple Cider Glaze
30 min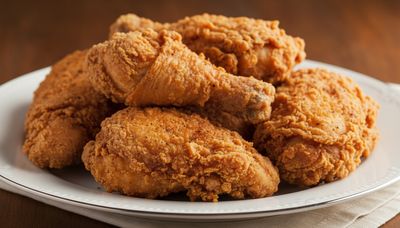
Southern Fried Chicken
45 min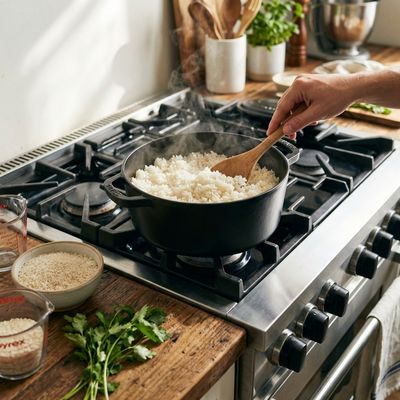
How To Cook Rice
30 min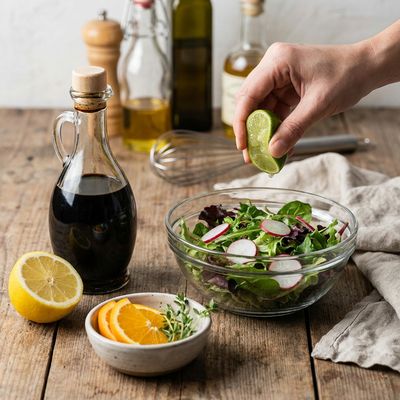
Why Acid is Essential in Cooking: How Vinegar and Citrus Balance Flavor
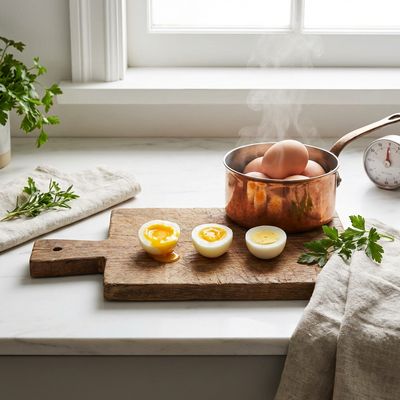
How To Boil Eggs
17 min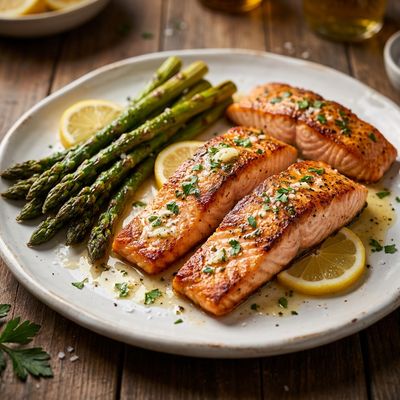
Sheet Pan Garlic Butter Salmon and Asparagus
25 min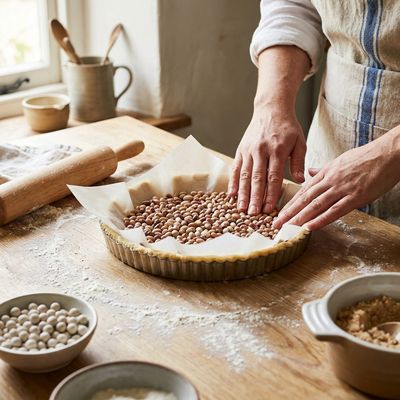
The Ultimate Guide to Blind Baking Pie Crust
Comments
(0)Sign in to leave a comment.
You Might Like
Ad Space Available
Be the first to leave a comment.