Step 1: Choose the Right Glass Material
When selecting containers, identify the difference between borosilicate and soda-lime glass. Borosilicate glass, often used in laboratory settings, is highly resistant to thermal shock, making it the superior choice for moving containers directly from the freezer to the oven. Soda-lime glass is the most common consumer glass; while durable for everyday use, it requires more gradual temperature changes to prevent cracking.
Step 2: Evaluate Lid Sealing Mechanisms
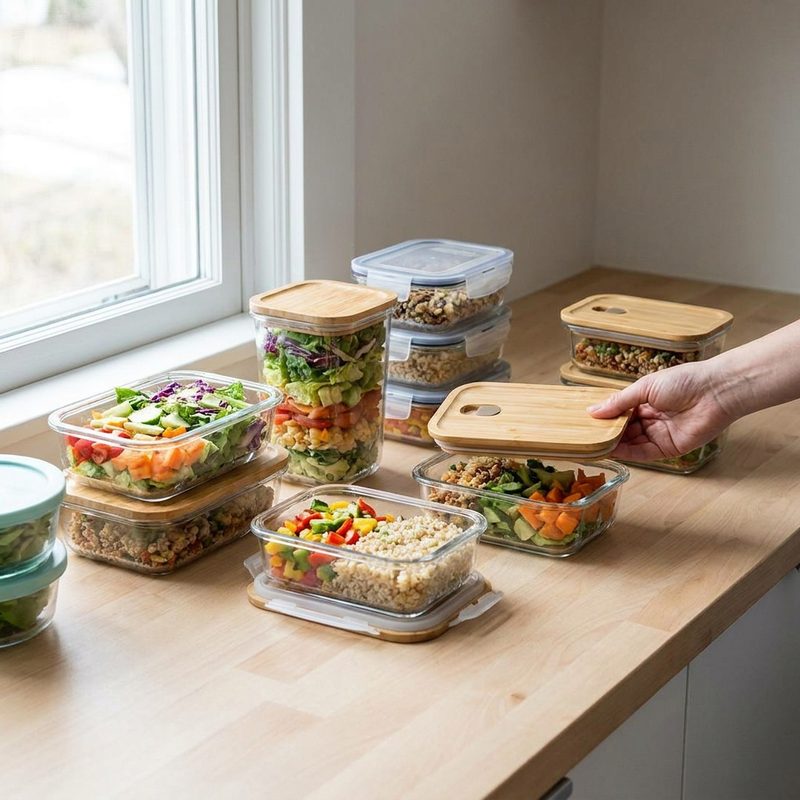
The longevity of your prep depends on the seal. Look for BPA-free plastic lids with integrated silicone gaskets and snap-locking tabs. These create an airtight and leak-proof environment, essential for keeping greens crisp and preventing spills during transit. For dry storage or countertop display, silicone-rimmed bamboo lids are an aesthetic alternative, though they may not be as airtight for long-term refrigeration.
Step 3: Optimize for Portioning and Stacking
Standardize your collection by purchasing sets rather than individual pieces. This ensures that containers stack neatly in the fridge and nest together in your cabinets to save space. For meal prep, look for 2-cup or 3-cup rectangular containers, which are ideal for individual portions. Divided glass containers are also excellent for keeping proteins and grains separate from vegetables until you are ready to eat.
Step 4: Implement Safe Reheating and Cleaning
Always remove plastic lids before placing glass containers in the oven or microwave, as high heat can warp the plastic or damage the silicone seal. When cleaning, ensure the silicone gaskets are removed periodically to wash away trapped moisture and food particles. While glass is dishwasher safe, hand-washing the lids will extend the life of the locking tabs and gaskets.
Key Takeaways
- ✓ <html><ul><li>Use wet-erase markers to write the date and contents directly on the glass; it washes off easily with soap and water.</li><li>Always leave at least a half-inch of headspace when freezing liquids in glass to allow for expansion and prevent breakage.</li><li>If your glass container feels stuck after refrigeration, let it sit at room temperature for a few minutes to allow the seal to loosen naturally.</li><li>Store your lids in a separate organizer rather than on the containers to ensure they stay completely dry and odor-free.</li></ul></html>