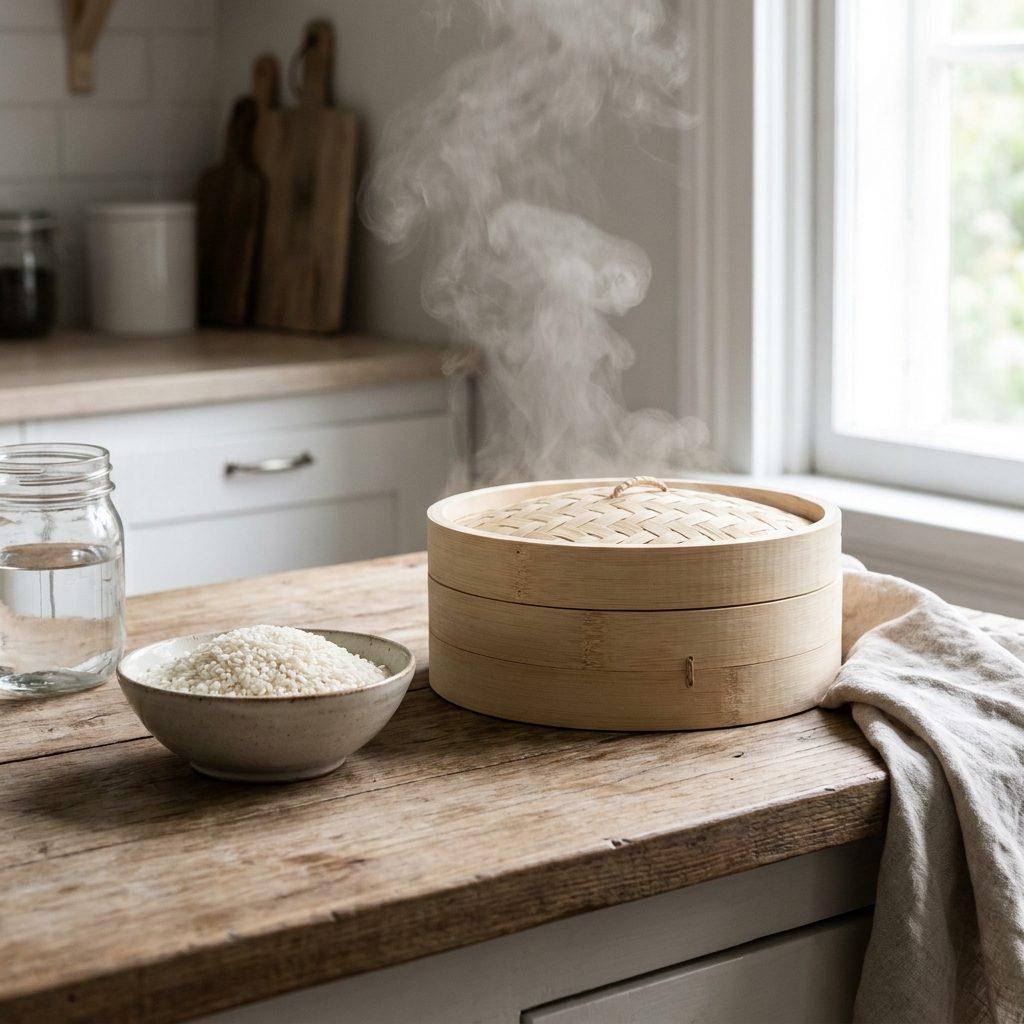
Recipe Details
"Steaming white rice is a fundamental kitchen skill that produces light, fluffy grains perfect for any meal. This guide explores the stove-top absorption method to ensure professional results without specialized equipment."
Ingredients
| Qty | Item |
|---|---|
| Ingredient list coming soon. | |
How to Make How to Steam White Rice
Step 1: Measuring and Rinsing
Begin by measuring your white rice accurately. Use a dry measuring cup for the rice, not a liquid one. For example, 1 cup (180 g) of dry long-grain white rice yields about 3 cups cooked. Place the rice in a fine-mesh strainer (with holes smaller than 1 mm) or a large bowl and rinse it under cold running water (around 55°F/13°C). Agitate the grains with your fingers in a circular motion for 30 to 45 seconds until the water runs clear. If using a bowl, pour off the cloudy water, refill, and repeat 3 to 4 times. The water should be nearly transparent; if it remains milky after 5 rinses, the rice may be over-processed and will clump. Stop rinsing when the water is clear—over-rinsing can wash away nutrients and flavor. Drain the rice well by shaking the strainer for 10 seconds; excess water will alter the ratio.
Step 2: The Ideal Water-to-Rice Ratio
Transfer the rinsed rice to a heavy-bottomed pot, such as a 2.5-quart stainless steel or enameled cast iron pot. For most long-grain white rice varieties (like basmati or American long-grain), use a ratio of 1.5 cups (355 ml) of water for every 1 cup (180 g) of dry rice. For short-grain (sushi rice) or jasmine rice, you may prefer a slightly lower ratio of 1.25 cups (295 ml) of water to maintain a firmer texture. For medium-grain (like Calrose), use 1.33 cups (315 ml). If you live at an altitude above 3,000 feet (900 m), increase water by 2 tablespoons per cup because lower boiling point slows hydration. For a softer rice (e.g., for congee), use 2 cups water per cup rice. Measure water with a liquid measuring cup for accuracy. Do not add oil or butter now—it can coat grains and prevent proper absorption.
Step 3: Bringing to a Boil
Add a pinch of salt (about 1/8 teaspoon per cup of rice) if desired. Place the pot over medium-high heat (around 7 on a 1-9 dial) and bring the water to a vigorous boil. Do not cover the pot yet; wait until the water is bubbling across the entire surface with large, rolling bubbles (about 2 to 3 minutes). You should see steam rising steadily. If the water boils too slowly, the rice may start absorbing before reaching temperature, leading to mush. If it boils too fast (bubbles splashing out), reduce heat slightly. Once boiling, you will hear a loud, continuous bubbling sound.
Step 4: The Simmering Phase
Once the water boils, turn the heat down to the lowest possible setting (1 on a gas stove, or the lowest simmer on electric). Cover the pot with a tight-fitting lid to trap the steam. If your lid is loose, place a clean kitchen towel (folded into a square) between the pot and the lid to create a better seal; ensure the towel does not hang over the edge where it can catch fire. After covering, you should hear a gentle hiss or a faint bubbling sound—if you hear nothing, the heat is too low; if you hear vigorous bubbling, the heat is too high. Adjust accordingly. The surface of the water should barely shimmer; small bubbles may appear but not break the surface. Simmer for exactly 18 minutes for long-grain, 15 minutes for jasmine, or 20 minutes for short-grain. Do not lift the lid at any point—even a quick peek releases steam and can cause a 2-minute delay in cooking, resulting in crunchy grains.
Step 5: The Steaming Period
Simmer the rice for approximately 15 to 18 minutes. It is vital that you do not lift the lid during this time, as releasing the steam will disrupt the cooking process and lead to unevenly cooked grains. If you are unsure of doneness, listen: after about 12 minutes, the bubbling sound should fade to near silence—this indicates water is absorbed. If you hear a crackling or popping sound after 15 minutes, the rice may be scorching; immediately remove from heat and let rest (do not stir). For electric stoves, residual heat can overcook the bottom—after 15 minutes, slide the pot to a cool burner. For induction, reduce to the lowest setting after 10 minutes. If using a glass lid, you should see condensation forming and droplets falling back onto the rice; if the lid is dry after 15 minutes, add 2 tablespoons of water and continue simmering for 3 more minutes.
Step 6: The Essential Rest
Remove the pot from the heat but do not remove the lid. Let the rice rest undisturbed for 10 minutes. This allows the moisture to redistribute evenly throughout the grains, ensuring a uniform, fluffy texture. During this rest, the internal temperature of the rice drops from about 212°F (100°C) to around 160°F (71°C). If you lift the lid early, steam escapes and the top layer may become dry and hard. If the pot is on a cold surface (like granite), place a folded towel underneath to prevent rapid cooling. After 10 minutes, the lid should feel warm but not hot. If the rice is still wet or soupy after resting, it was undercooked—return to low heat for 5 more minutes with lid on, then rest again for 5 minutes.
Step 7: Fluffing and Serving
Remove the lid and tilt it away from you to avoid steam burns. Use a fork or a rice paddle to gently fluff the rice, starting from the edges and working toward the center in a lifting motion. This separates the grains and allows excess steam to escape. If the rice is stuck to the bottom, do not scrape—instead, let it cool for 2 minutes, then fluff again; the stuck layer (called okoge in Japanese) can be eaten as a crispy snack. Serve immediately while hot. For best texture, consume within 30 minutes; after that, cover with a damp paper towel and microwave for 30 seconds to restore moisture. Leftover rice can be refrigerated in an airtight container for up to 4 days, or frozen for 3 months.
Tips for Best Results
-
·
<html><ul><li>Always use a heavy-bottomed pot to prevent the bottom layer of rice from scorching.</li><li>Never stir the rice while it is simmering, as this releases starch and creates a mushy texture.</li><li>If the rice is still too firm after the resting period, add a tablespoon of hot water and steam for another 5 minutes on low heat.</li><li>For extra flavor, substitute water with chicken, vegetable, or coconut broth.</li></ul></html>
Frequently Asked Questions
Why is my steamed rice always sticky?
Can I use this method for brown rice?
Do I need to soak the rice before steaming?
What should I do if the rice is burnt at the bottom?
What to Cook Next

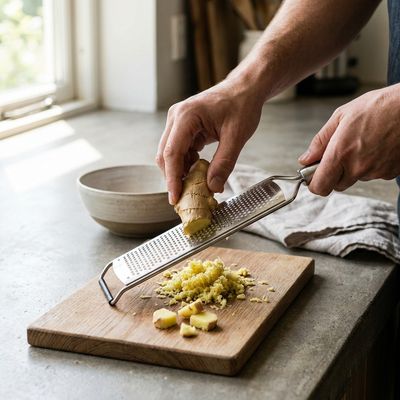
Next Recipe
How to Grate Ginger
Grating ginger is a fundamental skill that unlocks intense flavor and aroma in both sweet and savory dishes. This guide covers the best tools and methods to achieve the perfect texture while avoiding tough, woody fibers.
Similar Recipes to Try
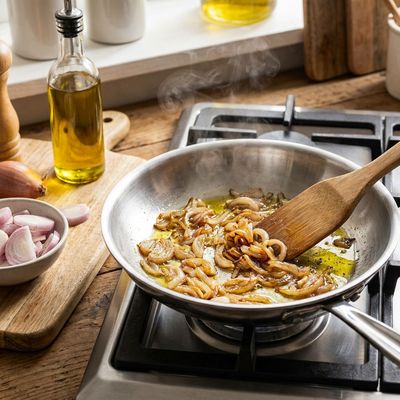
How to Saute Shallots

Moules-Frites with White Wine and Celery
55 min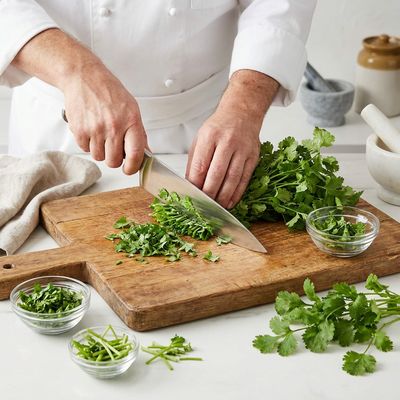
How to Chop Cilantro
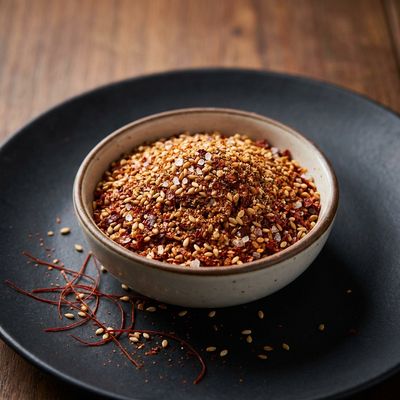
Homemade Gochugaru Chilli Seasoning
15 min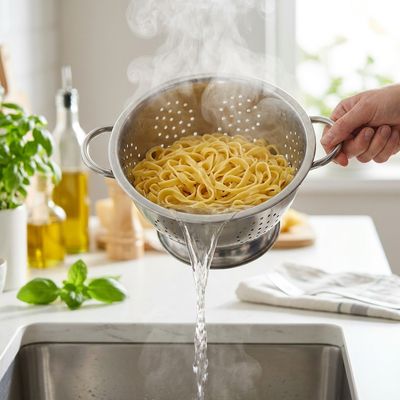
How to Drain Noodles
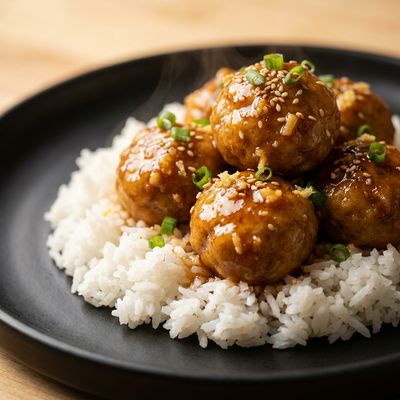
Honey Garlic Glazed Meatballs over Rice
45 min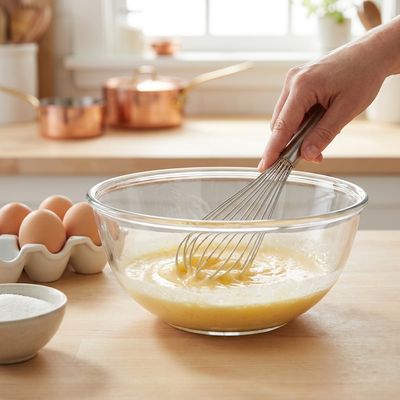
How to Whisk Egg Yolks

White Wine: Uses, Substitutes, and How to Store It
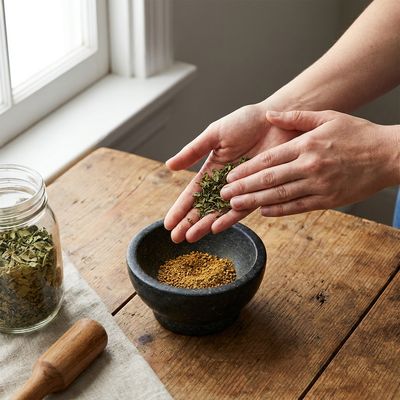
How to Crush Kasuri Methi
How to Peel Potatoes
Comments
(0)Sign in to leave a comment.
You Might Like


Ad Space Available
Be the first to leave a comment.