1. Chill Your Equipment
For the most volume and stability, place your metal or glass mixing bowl and whisk attachment in the freezer for at least 15 minutes before you begin. Cold equipment prevents the fat in the cream from melting, which is essential for trapping air bubbles effectively.
2. Select the Right Cream
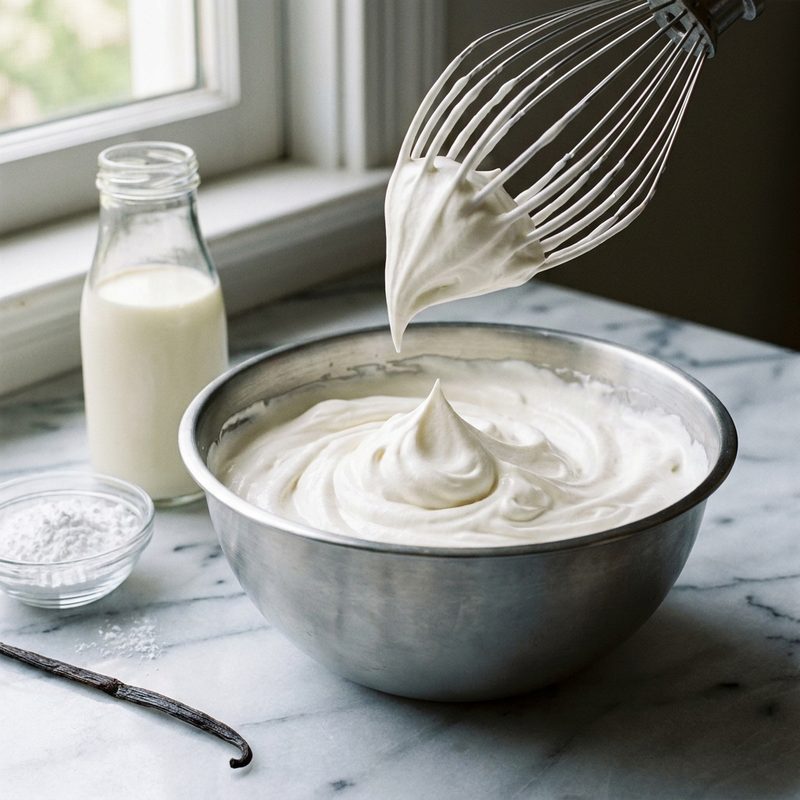
Ensure you are using heavy whipping cream with a fat content of at least 36%. Pour the cold cream directly from the refrigerator into your chilled bowl. If you are adding sweeteners like confectioners' sugar or flavorings like vanilla bean paste, add them now before you start the mixer.
3. Begin the Aeration
Start whisking on low speed to incorporate the sugar and break the surface tension of the liquid. Gradually increase the speed to medium-high. Avoid using the highest speed setting on your mixer, as this creates large, unstable air bubbles that are more likely to collapse.
4. Monitor the Peak Stages
As the cream thickens, pay close attention to the tracks left by the whisk. Soft peaks are reached when the cream holds its shape but the tip slumps over when the whisk is lifted. Medium peaks hold their shape with a slight curl at the tip. Stiff peaks stand straight up and are perfect for piping or topping sturdy desserts.
5. Final Finishing
Once you approach your desired consistency, finish the last few seconds of whisking by hand. This gives you ultimate control and prevents the cream from over-aerating and turning into butter.
Key Takeaways
- ✓ <html><ul><li>Always use powdered sugar instead of granulated sugar; the cornstarch in powdered sugar helps stabilize the cream.</li><li>Avoid over-beating; if the cream looks grainy or curdled, you have gone too far.</li><li>If you do over-whip slightly, you can often save it by gently folding in a tablespoon or two of fresh, liquid cream.</li><li>For long-lasting whipped cream, add a teaspoon of instant pudding mix or gelatin to create a stabilized version that won't weep.</li></ul></html>