The Basics of Trimming Pie Crusts
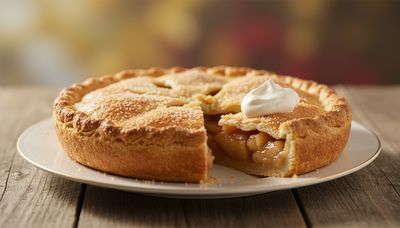
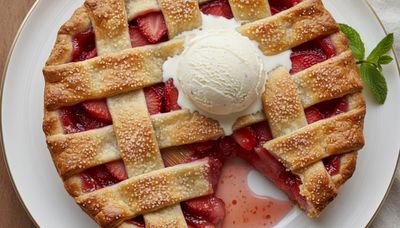
When preparing a pie, trimming the overhanging dough is essential for a clean finish. Once you have draped your dough over the pie plate, use a pair of clean kitchen shears to trim the excess, leaving about a half-inch overhang. This extra dough can then be folded under itself to create a thick border for crimping. For a flush edge, run a sharp paring knife along the rim of the plate, using the ceramic or glass edge as a guide. Press the blade firmly against the rim at a 45-degree angle, slicing through the dough in one continuous motion. You should feel the knife tip scrape against the plate; if it catches, the dough is too soft—chill it for 10 minutes in the freezer first. When folding the overhang under, tuck it so the folded edge sits just below the rim, creating a 1/4-inch-thick border. For a classic crimp, press your thumb and index finger together around the edge, spacing each crimp 1/2 inch apart. If the dough tears, patch it with a scrap moistened with water. For a lattice top, trim the bottom crust flush with the plate edge, then lay the lattice strips over and trim them to the same flush line before crimping. This prevents a thick, doughy rim that bakes unevenly.
Achieving Sharp Edges on Puff Pastry and Biscuits
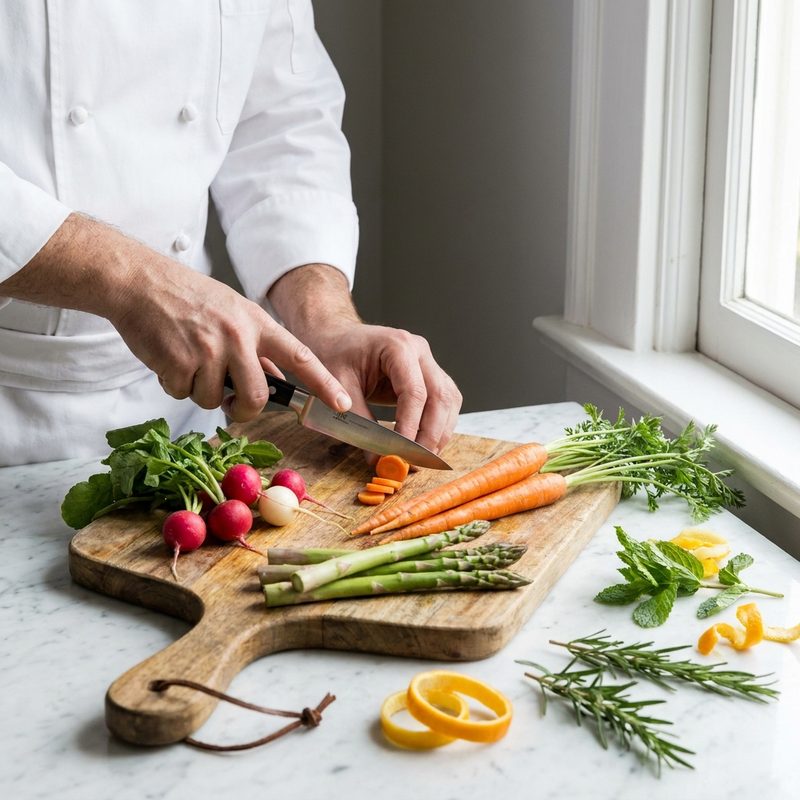
To ensure puff pastry or biscuits rise properly, you must use a vertical cutting motion. Avoid dragging the knife, as this 'seals' the layers and prevents the dough from puffing up. Use a very sharp chef's knife or a pizza cutter to trim the edges in a single, swift downward motion. This exposes the clean layers of butter and flour, allowing the steam to escape and push the layers apart during baking. For puff pastry, chill the dough for 20 minutes after rolling to 1/8-inch thickness before cutting. Use a ruler to measure and a pizza cutter for straight lines; press down with even pressure in one quick stroke—do not rock the blade. If you see the edges squish together, the dough is too warm; return it to the fridge for 15 minutes. For biscuits, use a 2-inch round cutter dipped in flour. Push straight down without twisting; twisting seals the edges, reducing rise by up to 30%. You should hear a clean snap as the cutter hits the work surface. Space biscuits 1 inch apart on a parchment-lined sheet; for softer sides, place them touching. Brush tops with buttermilk (not whole milk) for a deeper golden crust. Bake at 425°F for 12 to 15 minutes; if the bottoms are pale, increase oven temperature by 25°F next time.
Squaring Off Cakes and Sandwiches
For professional-looking finger sandwiches or tiered cakes, trimming the crusts and uneven edges is vital. For sandwiches, use a long serrated knife and a gentle sawing motion to remove the crusts after the sandwich is assembled. Stack two slices of bread with a 1/4-inch layer of filling (e.g., 2 tablespoons of cream cheese and cucumber for tea sandwiches). Use a ruler to cut 1-inch-wide strips, then cut those into 2-inch rectangles. The sawing motion should be light and fast—about 2 strokes per second—to avoid compressing the bread. If the crusts tear, the bread is too fresh; let it sit out for 30 minutes to stale slightly. For cakes, ensure the layers are completely chilled or slightly frozen before trimming. Freeze the cake layers for 30 minutes at 0°F; this firms the crumb and reduces crumbs by 80%. Use a cake leveler set to 1 inch for even layers, or a serrated knife with a gentle sawing motion. Hold the knife parallel to the work surface and rotate the cake as you cut, keeping the blade level. For a 9-inch round cake, trim off the dome (about 1/4 inch) and any browned edges. If the cake crumbles, the knife is dull; sharpen it or use a longer blade. For tiered cakes, trim the bottom tier's top to level, then trim the sides of each tier to a 90-degree angle using a bench scraper. This ensures the frosting layers are even and the tiers stack without leaning.
Trimming Meats for Even Cooking
In savory cooking, trimming edges often refers to removing excess fat or silver skin. Use a flexible boning knife to get under the connective tissue. Angle the blade slightly upward toward the skin to avoid losing meat. Trimming the edges of a steak or roast ensures that the fat renders properly and that the meat does not curl up when it hits the hot pan. For a 1-inch-thick ribeye, trim the fat cap to 1/4 inch thick; any thicker and the fat won't render fully, leaving a chewy strip. For silver skin on a pork loin or beef tenderloin, slide the knife under the membrane at a 30-degree angle, then cut in long, smooth strokes. You should feel the membrane separate with a slight pop; if the knife sticks, the blade is dull. Trim off any ragged edges so the meat is uniform in thickness—within 1/4 inch from end to end. For chicken breasts, trim the tenderloin and any hanging fat; pound to an even 1/2-inch thickness between plastic wrap for even cooking. If the meat curls in the pan, the edges weren't scored; make 1/4-inch-deep cuts every 2 inches along the fat cap. For roasts, trim the tail end to create a uniform cylinder, tying with butcher's twine every 1.5 inches. This prevents thin ends from overcooking while the center reaches 135°F for medium-rare. Use a meat thermometer to check; if the thin end hits 150°F before the center is done, wrap it in foil to slow cooking.
Key Takeaways
- ✓ <html><ul><li>Always use a sharp knife; dull blades will tear the edges rather than cutting them cleanly.</li><li>Chill your dough or cake before trimming to prevent crumbs and maintain structural integrity.</li><li>Don't discard pastry scraps; they can be dusted with cinnamon sugar and baked as a quick snack.</li><li>Use a metal ruler as a guide when trimming dough for tarts or rectangular pastries to ensure perfectly straight lines.</li></ul></html>