Why Tempering Matters
Tempering is the process of slowly raising the temperature of a cold or room-temperature ingredient—usually eggs—before adding it to a hot liquid. Without this step, the heat of a boiling liquid would cause the egg proteins to coagulate instantly, resulting in bits of cooked scrambled eggs in your custard or sauce. By introducing heat gradually, you allow the proteins to uncoil and bond slowly, creating a thick, stable emulsion.
Step 1: Whisk Your Eggs Thoroughly
Start by placing your eggs or egg yolks into a medium-sized heat-proof mixing bowl. Whisk them vigorously until they are uniform and slightly pale. This breaks down the proteins and prepares them for the incoming heat. If your recipe calls for sugar, whisking it into the eggs at this stage can also help provide a protective buffer against the heat.
Step 2: Heat Your Liquid Base
While whisking your eggs, heat your milk, cream, or broth in a saucepan until it reaches a simmer. You want the liquid to be hot but not necessarily at a rolling boil, as extreme heat makes the tempering process more difficult and increases the risk of curdling.
Step 3: The Slow Drizzle
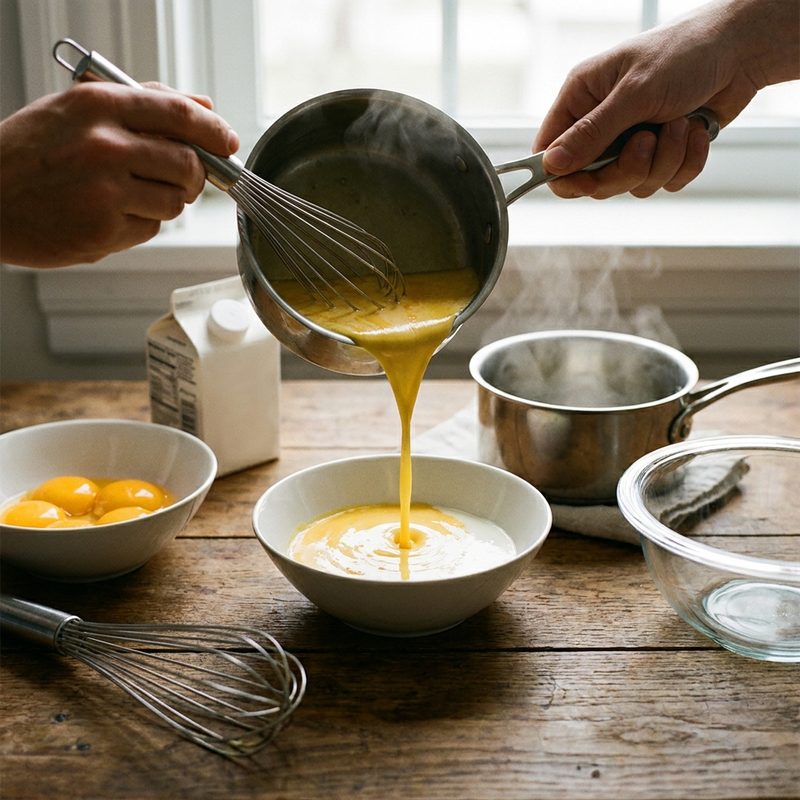
Using a ladle or a measuring cup, slowly drizzle a tiny stream of the hot liquid into the egg bowl while whisking the eggs constantly with your other hand. The goal is to keep the eggs in motion so no single part of the mixture gets too hot too fast. Continue this process until you have incorporated about half of the hot liquid into the eggs.
Step 4: Combine and Finish
Once the egg mixture feels warm to the touch, it is successfully tempered. Now, you can safely pour the warmed egg mixture back into the saucepan containing the remaining hot liquid. Return the pot to low or medium-low heat and continue to stir constantly with a wooden spoon or whisk until the sauce reaches your desired thickness or coats the back of a spoon.
Key Takeaways
- ✓ <html><ul><li>Place a damp kitchen towel under your mixing bowl to prevent it from sliding while you whisk with one hand and pour with the other.</li><li>Always use a fine-mesh strainer to pass your final custard through; this catches any small bits of egg that may have accidentally cooked despite your best efforts.</li><li>If your sauce starts to look slightly grainy, immediately remove it from the heat and whisk in a splash of cold cream or use an immersion blender to smooth it out.</li><li>Never stop whisking during the tempering process; constant motion is the primary defense against the eggs scrambling.</li></ul></html>