Step 1: Proper Preparation and Whisking
Begin by cracking fresh, room-temperature eggs into a bowl. Use a fork or a balloon whisk to beat the eggs vigorously until the whites and yolks are completely combined and no streaks remain. Incorporating air at this stage ensures a lighter, fluffier result. Avoid adding salt until just before they hit the pan to prevent the proteins from breaking down too early.
Step 2: Selecting the Right Pan and Heat
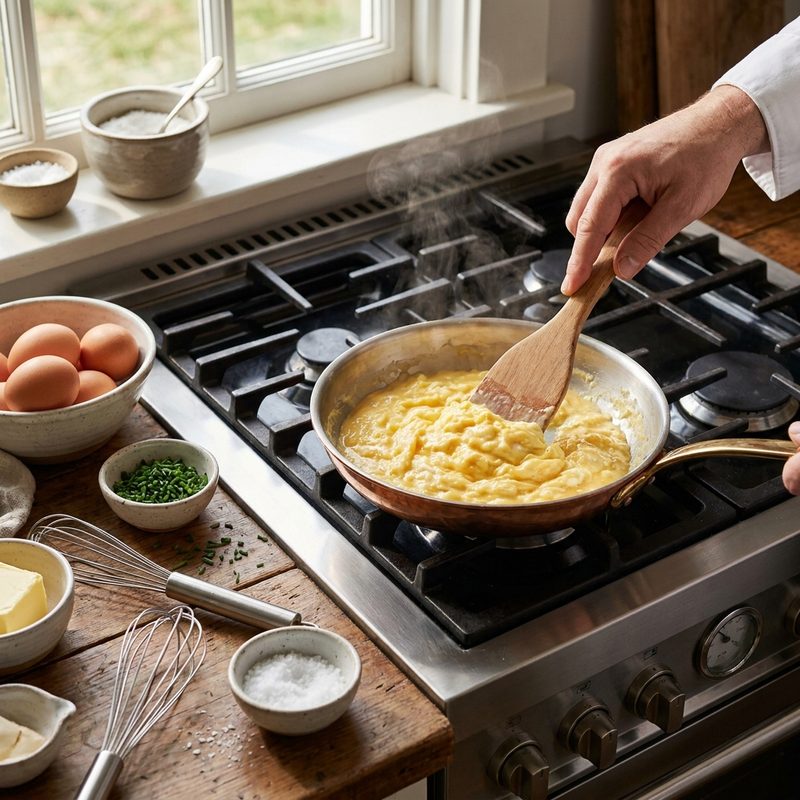
Use a non-stick skillet to ensure the eggs glide across the surface without tearing. Set your burner to low or medium-low heat. High heat is the enemy of creamy eggs, as it causes the proteins to tighten and expel moisture, leading to a rubbery texture. Add a knob of unsalted butter and let it melt until it begins to foam but does not brown.
Step 3: The Low and Slow Method
Pour the egg mixture into the center of the pan. Let them sit for about 20-30 seconds until the edges begin to set. Using a heat-resistant silicone spatula, gently push the cooked curds from the edges toward the center. This allows the raw egg to flow onto the hot surface. Continue this folding motion slowly, creating large, soft folds rather than small, shattered bits.
Step 4: Managing Carry-over Cooking
The most important rule of scrambled eggs is to remove the pan from the heat when the eggs still look slightly wet and glistening. The residual heat in the pan and within the eggs themselves will continue to cook the proteins for another 30 to 60 seconds after they are plated. If they look finished in the pan, they will be overdone on the plate.
Key Takeaways
- ✓ <ul><li>Always use high-quality, cold butter for the best fat-to-protein emulsion.</li><li>Avoid adding milk or water; they dilute the rich egg flavor and can cause the eggs to 'weep' liquid.</li><li>Use a silicone spatula to ensure you can cleanly scrape the bottom of the pan.</li><li>For an extra creamy finish, stir in a teaspoon of crème fraîche or a small cube of cold butter right before serving.</li></ul>