The Cold-Pan Method
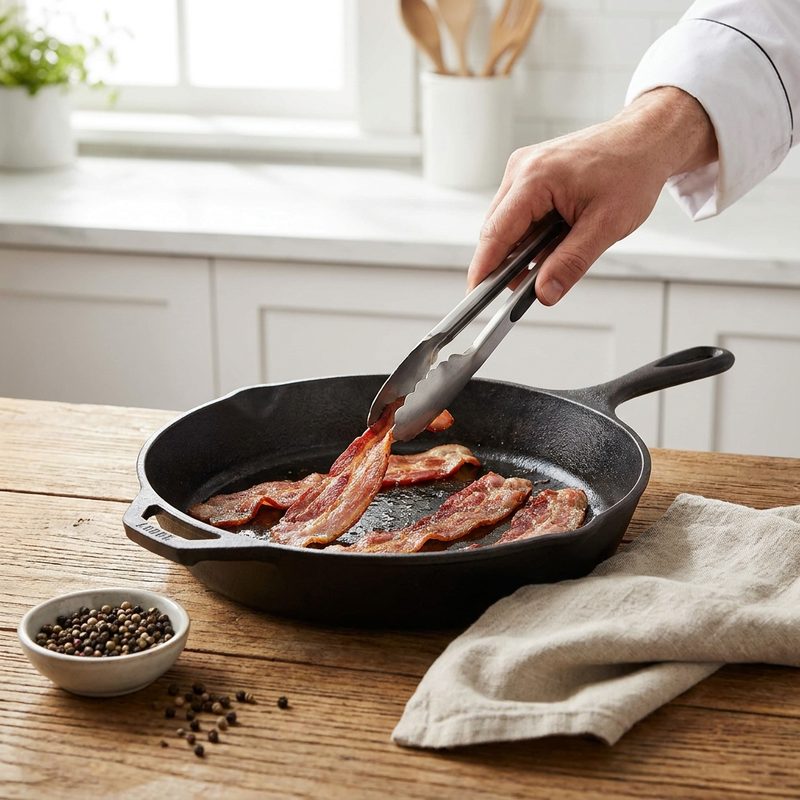
For the best stovetop results, always start with a cold pan. Lay your bacon strips in a heavy-bottomed skillet (cast iron is ideal) before turning on the heat. This allows the fat to render slowly as the pan warms up, resulting in more even cooking and less shriveling. Set the burner to medium-low and flip the bacon occasionally once it begins to release its fat.
The Water Technique
To prevent splattering and ensure a tender interior with a crispy exterior, add just enough water to the pan to cover the bottom. Cook over medium-high heat until the water evaporates. Once the water is gone, the bacon will start to fry in its own rendered fat. This method prevents the protein from toughening before the fat has fully rendered.
Oven-Frying for Large Batches
If you are cooking for a crowd, the oven is your best friend. Preheat your oven to 400°F (200°C). Line a large rimmed baking sheet with aluminum foil or parchment paper. Place a wire cooling rack on top and arrange the bacon in a single layer. Bake for 15 to 20 minutes depending on thickness. This method provides perfectly straight, uniform strips with minimal cleanup.
Draining and Resting
Regardless of the method used, the final step is crucial. Transfer the cooked bacon immediately to a plate lined with paper towels. Let it rest for 1 to 2 minutes; this allows the residual heat to finish the crisping process and removes excess grease that can make the bacon feel heavy or soggy.
Key Takeaways
- ✓ <html><ul><li>Avoid overcrowding the pan to ensure even heat distribution and airflow.</li><li>Save your rendered bacon grease in a glass jar for sautéing vegetables or frying eggs.</li><li>Thick-cut bacon requires lower heat and longer cooking times to prevent the outside from burning before the fat renders.</li><li>For perfectly flat strips, use a bacon press or a second heavy skillet on top of the bacon while frying.</li></ul></html>