Recipe Details
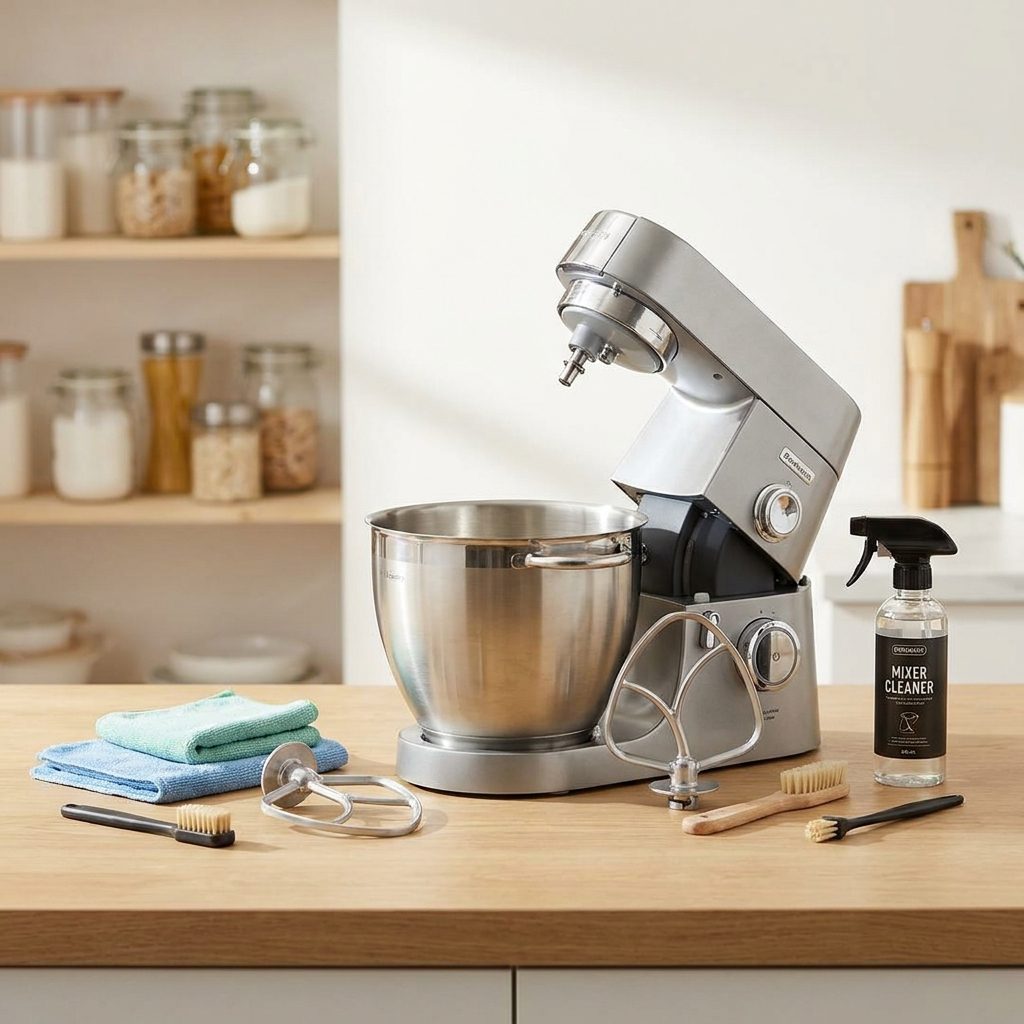
"Your stand mixer is the workhorse of your kitchen, but flour dust and butter splatters can quickly lead to mechanical issues. This guide covers everything from daily maintenance to the deep-cleaning steps required to keep your machine running smoothly for decades."
Ingredients
| Qty | Item |
|---|---|
| Ingredient list coming soon. | |
How to Make A Guide to Deep Cleaning Your Stand Mixer
Step 1: Safety First and Disassembly
Before you begin any cleaning process, ensure the mixer is unplugged. Remove the mixing bowl and any attachments such as the paddle, whisk, or dough hook. If your mixer has a removable attachment hub cover, remove that as well to access hidden flour dust.
Step 2: Soaking the Removable Parts
Fill your sink with warm, soapy water. Most stainless steel bowls and nylon-coated attachments are dishwasher safe, but hand-washing with a soft sponge is always the gentlest method. Avoid putting burnished aluminum attachments in the dishwasher, as they will oxidize and turn grey. Let them soak to loosen any dried-on batter.
Step 3: Scrubbing the Body and Head
Use a damp (not dripping) microfiber cloth and a mild dish soap solution to wipe down the entire exterior. Pay close attention to the underside of the motor head, where splatters often go unnoticed. For stubborn, dried-on bits, use a paste of baking soda and water, applying it gently to avoid scratching the finish.
Step 4: Cleaning the Nooks and Crannies
Stand mixers have several tight spots, such as the speed control knobs, the locking lever, and the planetary rim (the part that rotates). Use a soft-bristled toothbrush or a wooden toothpick to dislodge flour and debris from these crevices. For the air vents, use a vacuum attachment or a can of compressed air to blow out dust that could cause the motor to overheat.
Step 5: Addressing the Attachment Hub and Base
The attachment hub can often harbor old grease or flour. Use a damp cotton swab to clean inside the square drive. Finally, tip the mixer on its side (carefully) to wipe the bottom of the base and the feet, which often collect kitchen grime that can cause the mixer to 'walk' across the counter during heavy use.
Tips for Best Results
-
·
<html><ul><li>Never submerge the main mixer body in water; this will destroy the motor and electrical components.</li><li>Use a toothpick or a clean pipe cleaner to reach the narrow gap where the planetary head meets the main body.</li><li>If your mixer is leaking oil, it usually means the food-grade grease has separated; a deep clean followed by a grease replacement may be necessary.</li><li>Apply a small amount of food-grade mineral oil to the attachment hub to keep it sliding smoothly.</li></ul></html>
Frequently Asked Questions
Can all stand mixer attachments go in the dishwasher?
How often should I deep clean my mixer?
How do I remove the 'grey residue' from my aluminum bowl?
What should I do if my mixer is overheating?
What to Cook Next


Next Recipe
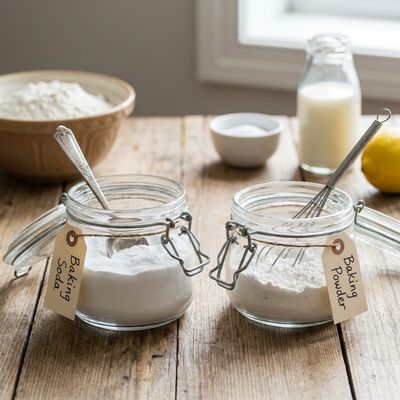
Baking Soda vs. Baking Powder: A Guide to How Leavening Agents Work
Understanding the chemical reactions behind baking soda and baking powder is essential for any home baker. This guide explores the science of carbon dioxide production and how these leavening agents create the light, airy textures in your favorite recipes.
Similar Recipes to Try

Tortillas: Uses, Substitutes, and How to Store It

Maple Syrup: Uses, Substitutes, and How to Store It

A Beginner's Guide to Braising: How to Make Tough Cuts Tender

Carrots: Uses, Substitutes, and How to Store It

Celery: Uses, Substitutes, and How to Store It

The Ultimate Guide to Emulsifying Homemade Sauces and Vinaigrettes

Basmati Rice: Uses, Substitutes, and How to Store It
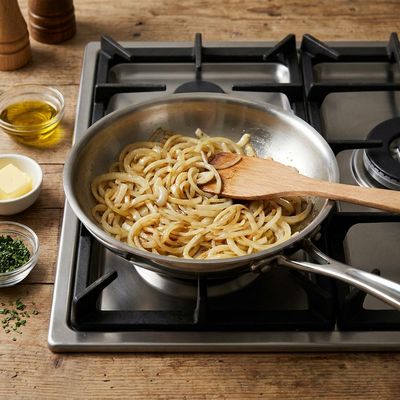
How to Saute Onions

How To Bake Sweet Potatoes
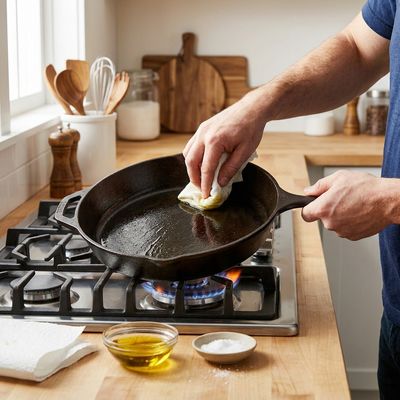
How to Season a Cast Iron Skillet for a Non-Stick Finish
Comments
(0)Sign in to leave a comment.
You Might Like



Ad Space Available
Be the first to leave a comment.