Step 1: Select the Freshest Eggs
The secret to a neat poached egg lies in the freshness of the egg. As eggs age, the proteins in the whites break down and become watery. Fresh eggs have a thicker white that clings to the yolk, resulting in fewer 'wispy' strands in the water. If you aren't sure of freshness, crack the egg into a fine-mesh sieve over a bowl first to let the thin, watery part of the white drain away.
Step 2: Prepare the Poaching Liquid
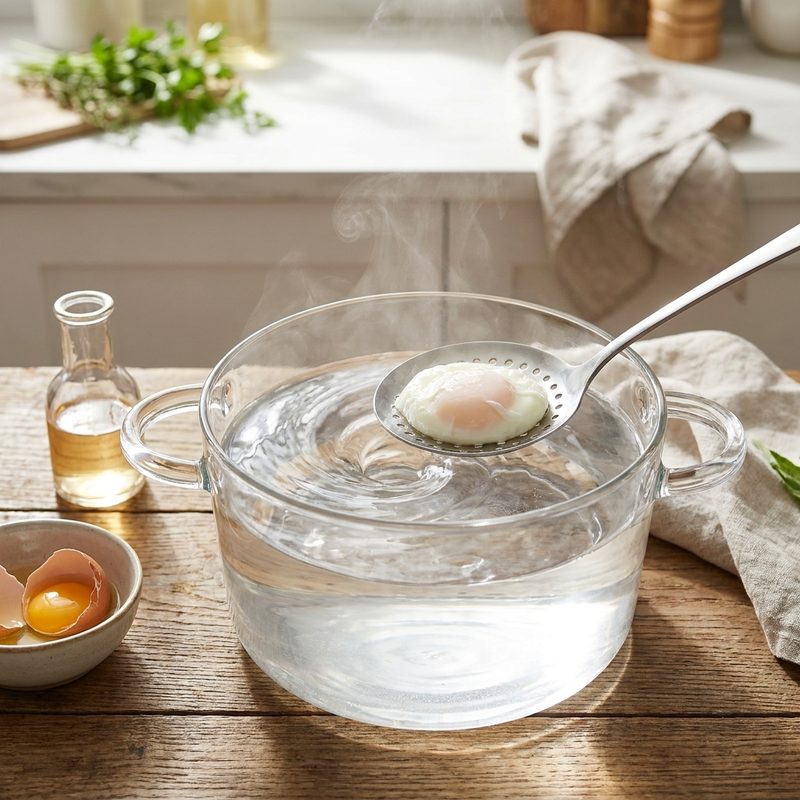
Fill a deep saucepan with at least 4 inches of water. Bring it to a gentle simmer—not a rolling boil. You are looking for 'shivering' water with small bubbles rising to the surface. Add one tablespoon of white distilled vinegar to the water. The acid helps the egg proteins coagulate more quickly, keeping the egg together without significantly altering the flavor.
Step 3: The Vortex Method
Crack your egg into a small ramekin or custard cup rather than directly into the pot. Use a spoon to stir the simmering water in a circular motion to create a gentle whirlpool. This centrifugal force helps wrap the egg white around itself as it enters the water. Drop the egg into the center of the vortex in one fluid motion.
Step 4: Timing the Cook
Turn off the heat or lower it to the absolute minimum to prevent the agitation of boiling water from tearing the delicate whites. Set a timer for 3 minutes for a very runny yolk, or 4 minutes for a jammy, soft-set yolk. Avoid the temptation to stir or poke the egg during this time.
Step 5: Lift and Drain
Use a slotted spoon to gently lift the egg from the water. Press the center of the yolk lightly with your finger; it should feel like a water balloon—firm on the outside but liquid in the middle. Dab the bottom of the spoon on a clean paper towel to remove excess water before sliding the egg onto your toast or plate.
Key Takeaways
- ✓ <ul><li>Use a fine-mesh strainer to remove the thin, watery whites before poaching for a cleaner shape.</li><li>Never salt the water directly; salt can break down egg whites and create more wisps.</li><li>If cooking for a crowd, poach eggs ahead of time and store them in a bowl of cold water in the fridge; reheat them in simmering water for 60 seconds when ready to serve.</li><li>White distilled vinegar is preferred because it won't discolor the egg like balsamic or apple cider vinegar might.</li></ul>