Step 1: Preparation and Chopping
Before applying heat, ensure your chocolate is broken down into uniform pieces. Use a sharp serrated knife to chop chocolate bars into small, even shards. Uniformity is key; smaller pieces melt faster and more evenly, reducing the risk of overcooking the portions that melt first.
Step 2: The Double Boiler Method (The Gold Standard)
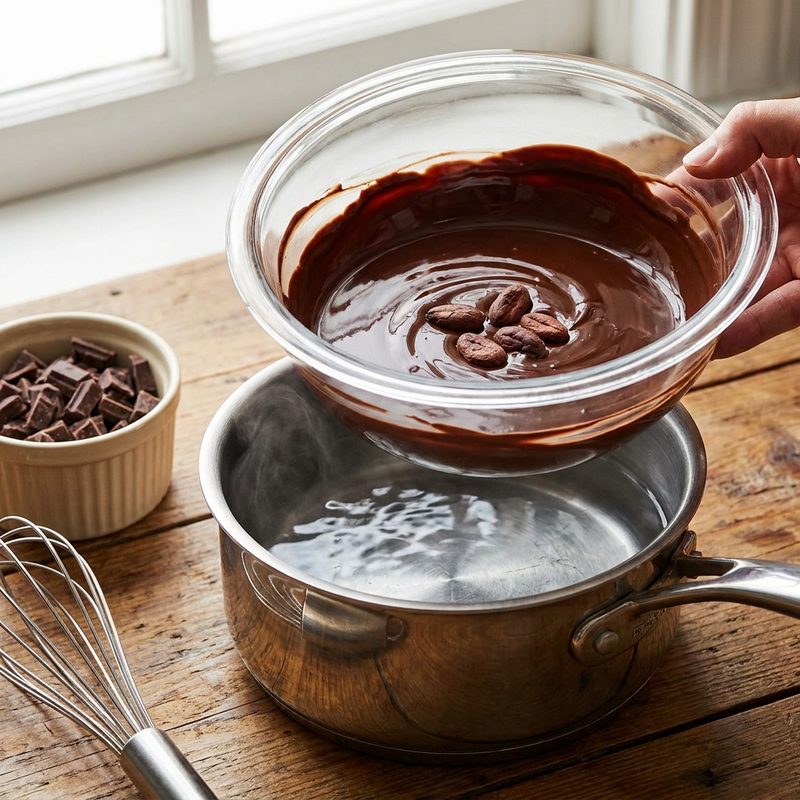
Fill a saucepan with one to two inches of water and bring it to a gentle simmer. Place a heat-proof glass or stainless steel bowl over the pot, ensuring the bottom of the bowl does not touch the water. Add two-thirds of your chopped chocolate to the bowl. Stir constantly with a rubber spatula as the steam gently warms the bowl. Once smooth, remove from heat and stir in the remaining chocolate to cool the mixture and encourage a glossy finish.
Step 3: The Microwave Method (The Quick Approach)
Place chopped chocolate in a microwave-safe bowl. Heat on 50% power (medium) for 30-second intervals. After each interval, remove the bowl and stir thoroughly, even if the pieces look unmelted. Chocolate holds its shape until stirred. Continue this process until only a few small lumps remain, then stir until the residual heat melts them completely. Never use high power, as chocolate burns easily.
Step 4: Handling Seized Chocolate
If a drop of water hits your chocolate, it may 'seize,' turning into a dry, clumpy mess. To fix this, you can ironically add more liquid. Stir in a teaspoon of boiling water or warm vegetable oil at a time, whisking vigorously until the chocolate emulsifies and becomes smooth again. Note that this chocolate is best used for sauces or batters rather than dipping.
Key Takeaways
- ✓ <ul><li>Keep it dry: Even a single drop of water can cause chocolate to seize and turn grainy.</li><li>Low and slow: Chocolate is sensitive to high heat; dark chocolate should not exceed 115°F, while milk and white chocolate should stay below 110°F.</li><li>Use a rubber spatula: This allows you to scrape the sides of the bowl effectively, ensuring every bit is evenly heated.</li><li>Avoid wooden spoons: Wood can retain moisture or odors from previous savory cooking that might taint the chocolate.</li></ul>