Step 1: Initial Settlement and Cooling
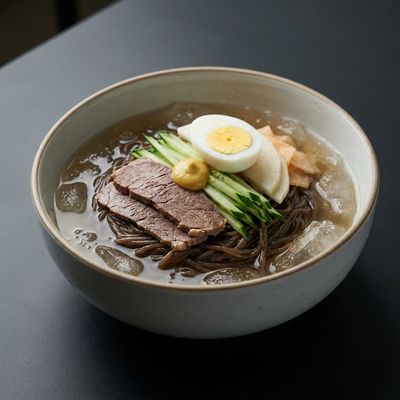
Before you begin the straining process, turn off the heat and allow the stock to sit undisturbed for 15 to 20 minutes. This allows the heavy sediment and larger particles to settle at the bottom of the pot, making the initial pour much cleaner. During this time, the liquid should stop bubbling entirely; if you see any remaining convection currents, the pot is still too hot. The surface should appear still, with a thin layer of fat beginning to form. If you are short on time, a minimum of 10 minutes is acceptable, but any less and you risk stirring up sediment when you move the pot. For best results, use a heavy-bottomed pot that retains heat evenly; a thin pot will cool too quickly on the edges while the center remains hot, causing uneven settling. After the rest, gently tilt the pot to check if any large particles float up—if they do, wait another 5 minutes. To put the method into practice, try homemade chicken stock.
Step 2: The Coarse Strain
Using a large slotted spoon or spider skimmer, remove the largest solids such as bones, meat chunks, and large vegetable pieces. Work from the top down to avoid disturbing the settled sediment. The spoon should be angled at about 45 degrees to slide under solids without scraping the bottom. If you encounter a bone that is too heavy for the spoon, use tongs to lift it out. Once the bulky items are removed, pour the remaining liquid through a traditional colander or coarse-mesh strainer into a large, heat-proof bowl. Pour slowly, aiming for the center of the strainer, and stop when you see the sediment layer at the bottom of the pot begin to shift—this usually happens when about 90% of the liquid has been poured. Discard the solids in the colander; they should be dry and crumbly, not soggy. If your colander clogs mid-pour, stop and empty it into a separate bowl, then continue. This prevents your fine-mesh tools from clogging immediately.
Step 3: The Fine-Mesh Refinement
For a standard kitchen broth, pass the liquid through a fine-mesh sieve (also known as a chinois). Do not force the liquid through with a spoon; let gravity do the work. Pressing on the solids can release cloudiness and bitter particulates into your finished product. The sieve should be set over a clean bowl, and the liquid should be poured in a thin, steady stream—about 1 cup per 10 seconds. If the sieve becomes clogged, stop pouring, gently stir the contents with a chopstick to break the clog, and resume. You should see the liquid emerge clear, with only a faint haze; if it looks milky, your sieve mesh is too coarse (use a 60-mesh or finer). For a very large batch (over 4 quarts), strain in two passes to avoid overwhelming the sieve. The final liquid should be free of any visible particles; hold it up to a light to check.
Step 4: Achieving Crystal Clarity with Cheesecloth
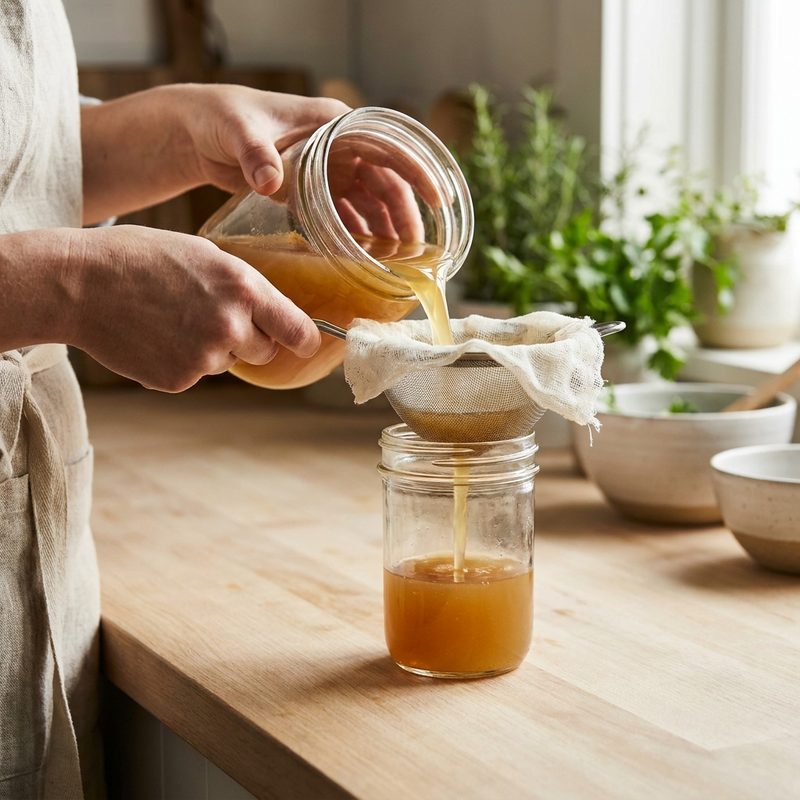
If you desire a consommé-like clarity, line your fine-mesh sieve with two to four layers of damp cheesecloth. The moisture prevents the cloth from absorbing the precious broth. To dampen the cheesecloth, run it under cold water and wring it out until it is just damp, not dripping. Place the cloth so that it overhangs the sieve by at least 2 inches on all sides. Pour the broth through slowly, at a rate of about 1 cup per 15 seconds. The fine fibers of the cloth will trap even the microscopic particles that a metal sieve might miss. If the cheesecloth clogs, lift it gently by the corners to redistribute the solids, but do not squeeze it—squeezing forces sediment through. After straining, you should be able to read a newspaper through the broth. If clarity is still lacking, repeat the process with a fresh layer of cheesecloth. For an extra-clear result, use a coffee filter instead of cheesecloth, but expect it to take 3 times longer.
Step 5: Degreasing and Final Storage
Once strained, cool the broth quickly in an ice bath. Fill a large bowl or sink with ice and water, then place the container of broth in it, stirring occasionally with a clean spoon. The broth should drop from boiling to below 40°F (4°C) within 2 hours to prevent bacterial growth. To remove excess fat, refrigerate the broth overnight; the fat will solidify into a hard puck on the surface, which can be easily lifted off the next morning. Use a slotted spatula to remove the fat puck in one piece; if it breaks, use a paper towel to blot the remaining fat globules. For immediate degreasing, use a fat separator pitcher: pour the broth in, wait 5 minutes, then pour from the spout at the bottom, stopping when you see the fat layer reach the spout. Transfer the finished, clarified broth into airtight containers for storage. Glass jars with tight lids are ideal; leave 1 inch of headspace for expansion if freezing. Label each container with the date and type of broth. In the refrigerator, it will keep for 5 to 7 days; in the freezer, for up to 6 months. If you see any cloudiness after thawing, it is just gelatin and will re-dissolve when heated. For more detail, see our guide to store leftover soup and stew.
Key Takeaways
- ✓ <html><ul><li>Always dampen your cheesecloth or flour sack towel before straining to ensure the liquid passes through rather than being absorbed by the fabric.</li><li>Never press on the vegetables or bones in the strainer; this releases starches and impurities that make the broth cloudy.</li><li>If you lack cheesecloth, a clean coffee filter placed inside a strainer works as an excellent substitute for ultra-fine filtration.</li><li>Strain your broth while it is still hot, as the liquid is less viscous and will pass through fine filters much faster than cold broth.</li></ul></html>