- 1
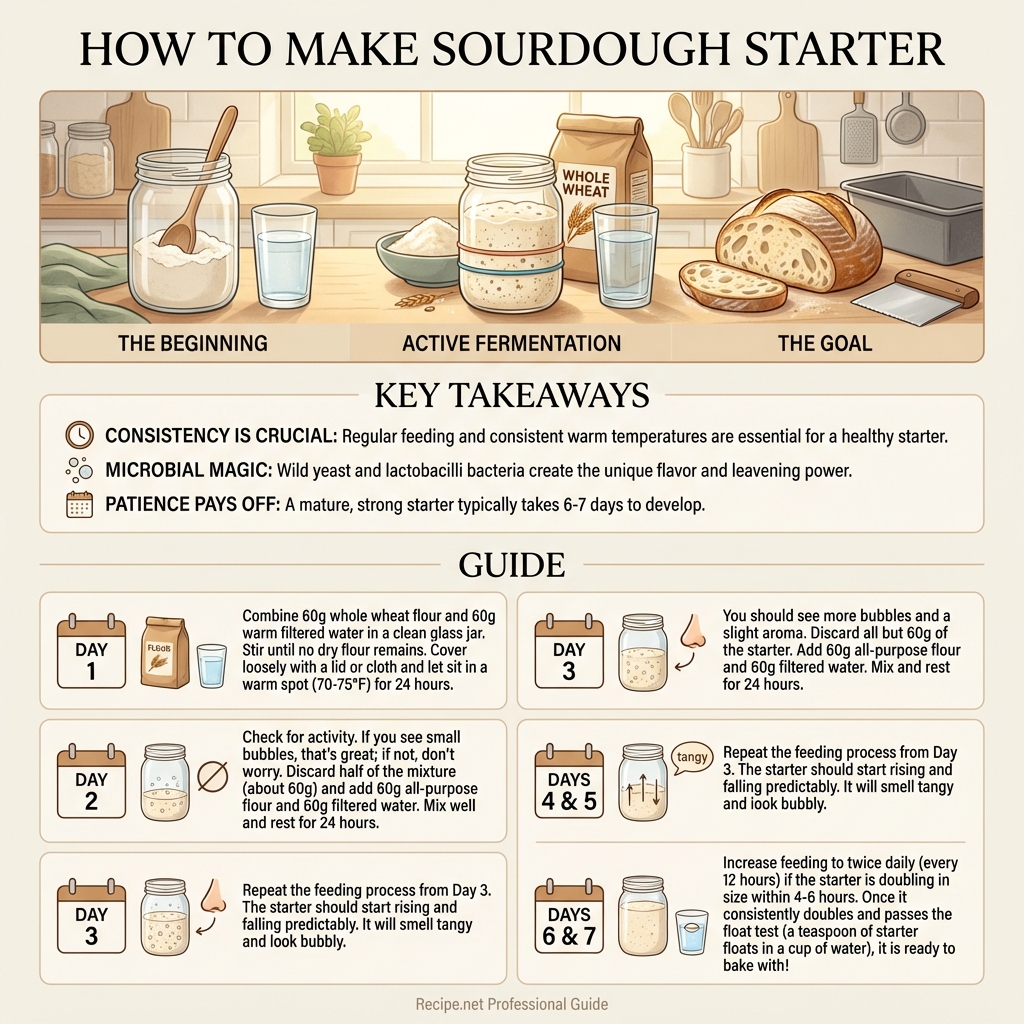
Day 1: Combine 60g whole wheat flour and 60g warm filtered water in a clean glass jar. Stir until no dry flour remains. Cover loosely with a lid or cloth and let sit in a warm spot (70-75°F) for 24 hours.
- 2
Day 2: Check for activity. If you see small bubbles, that's great; if not, don't worry. Discard half of the mixture (about 60g) and add 60g all-purpose flour and 60g filtered water. Mix well and rest for 24 hours.
- 3
Day 3: You should see more bubbles and a slight aroma. Discard all but 60g of the starter. Add 60g all-purpose flour and 60g filtered water. Mix and rest for 24 hours.
- 4
Days 4 and 5: Repeat the feeding process from Day 3. The starter should start rising and falling predictably. It will smell tangy and look bubbly.
- 5
Day 6 and 7: Increase feeding to twice daily (every 12 hours) if the starter is doubling in size within 4-6 hours. Once it consistently doubles and passes the float test (a teaspoon of starter floats in a cup of water), it is ready to use!
💡 Key Takeaways
- ✓ Use filtered or dechlorinated water, as chlorine can inhibit wild yeast growth.
- ✓ Maintain a consistent temperature between 70-75°F (21-24°C) for optimal fermentation.
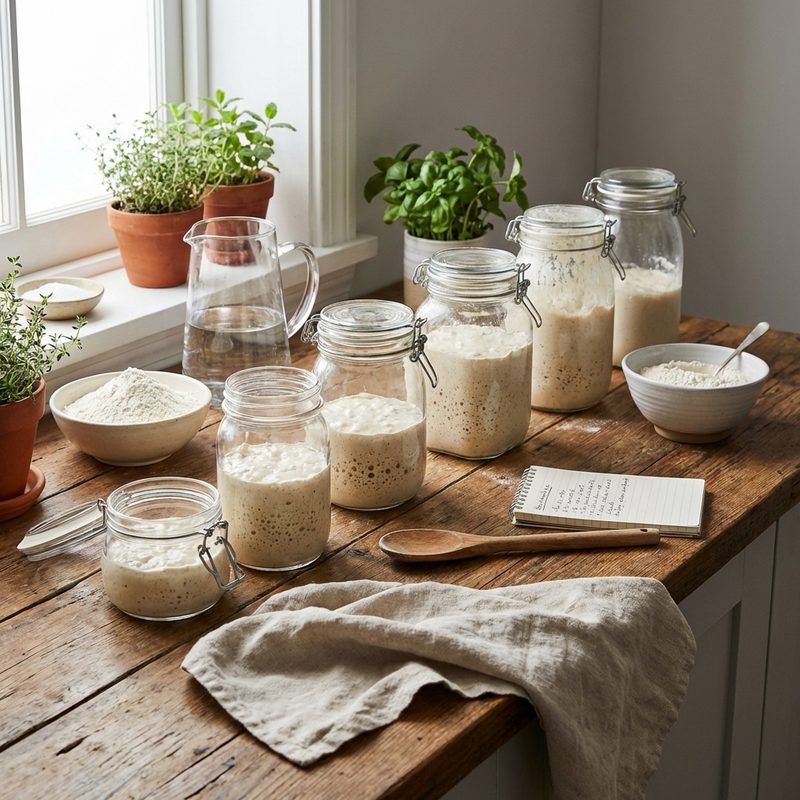
- ✓ Store your starter in a glass jar with a loose lid to allow gases to escape while preventing it from drying out.
- ✓ Mark the level of your starter with a rubber band after feeding to easily track how much it has risen.